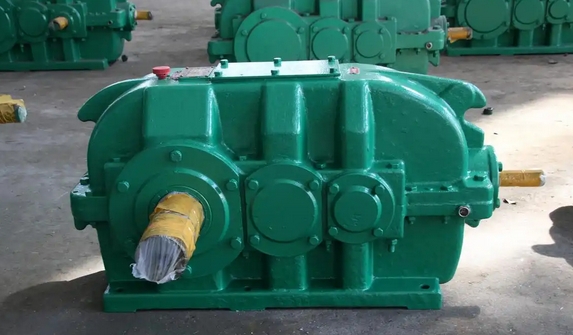
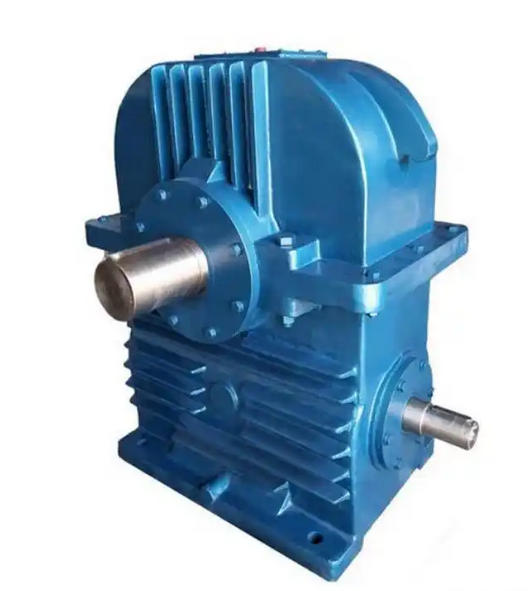
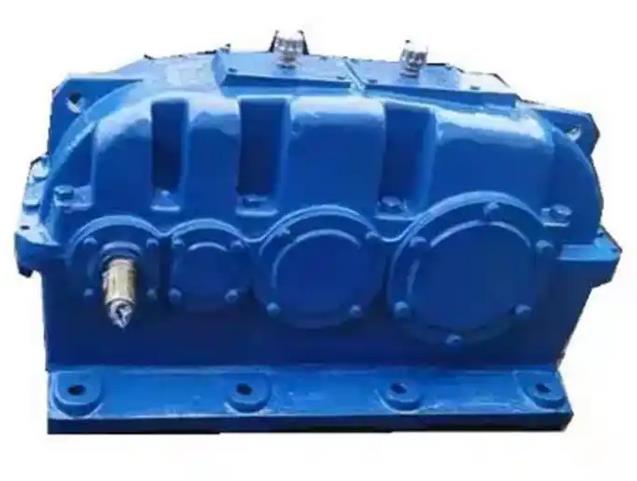
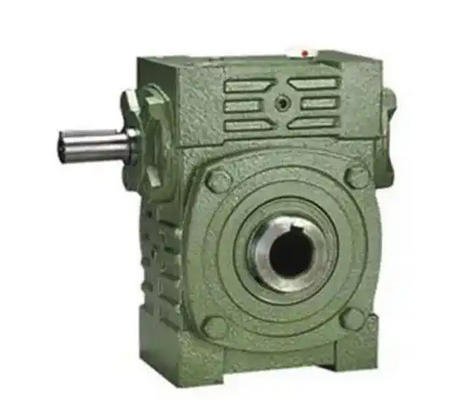
When replacing the DCY710-31.5-1S hard-tooth surface reducer housing, attention should be paid to the following matters:
When replacing the DCY710-31.5-1S hard tooth reducer case, the following precautions should be taken:1. Preparation work:
Check the installation environment: Ensure that the installation site is dry, clean, well ventilated, and the temperature is within a reasonable range of -40 ℃ to 50 ℃. At the same time, the installation foundation should be stable and have sufficient bearing capacity.

Confirm the reducer model: Carefully check whether the model, specifications, power, and position of the input and output shafts of the new box match the original reducer completely, to avoid installation or use problems caused by inconsistent models.
Prepare tools and accessories: Prepare the necessary tools in advance, such as wrenches, feeler gauges, vernier calipers, lifting equipment, as well as gaskets, bolts, sealants, lubricants, and other accessories that may need to be replaced.
2. Dismantling process:
Make proper markings: Before disassembling the various components of the reducer, mark the relative positions of the upper and lower joint surfaces, coupling pins, and bearing end caps of the reducer. At the same time, record the thickness and orientation of the original foundation gasket, the thickness and number of asbestos gaskets on the bearing end caps, etc., to provide accurate basis for subsequent reassembly.
Careful disassembly: Disassemble the coupling pins, protective covers, motor anchor bolts, brake anchor bolts, etc. of the reducer in order, and place the motor, brake, and other components properly to prevent collision. During the disassembly process, pay attention to protecting the disassembled circuits, parts, etc. to avoid damage.
Save parts: After disassembling the fastening bolts and locating pins on the joint surface of the upper and lower covers of the reducer, check whether the bolts are damaged or cracked, and screw the nut onto the screw for proper storage.
3. Install a new enclosure:
Cleaning and Inspection: Conduct a comprehensive cleaning of the new casing to remove any internal debris, oil stains, etc., inspect all parts of the casing for defects or damage, and ensure good strength and sealing of the casing. At the same time, check the dimensional accuracy and surface quality of the bearing seat holes, connecting flanges, and other parts. If there are any problems, they should be repaired or replaced in a timely manner
.
Installation of seals: When installing seals on the joint surface of the box, bearing end caps, and other parts, it is necessary to ensure that the installation position of the seals is correct, flat, and free of distortion, deformation, and other conditions. An appropriate amount of lubricating grease can be applied to the surface of the seal to facilitate installation and improve the sealing effect. Be careful not to fill gaskets in the connecting parts of the box, but you can apply specialized sealant or water glass to ensure sealing.
Lifting and fixing: Use appropriate lifting equipment to smoothly lift the new box to the installation position, place the box correctly according to the markings and original records, and tighten the anchor bolts to ensure that the box is installed firmly. When tightening bolts, it is necessary to follow a certain sequence and torque requirements to avoid deformation of the box due to uneven stress.
Shaft installation and alignment: Install the original shaft, gears, bearings, and other components onto the new casing. During the installation process, pay attention to the installation sequence and direction of each component to ensure proper installation. When installing the coupling, tools such as level gauges and gauges should be used to ensure that the input shaft of the reducer and the output shaft of the motor are on the same horizontal line, so that the axis is accurately aligned and the error cannot exceed the compensation amount of the coupling used.


