

When replacing the housing of a hard-toothed gear reducer, how can you ensure the equipment remains clean?
When replacing the gearbox housing with a hard tooth surface, the following measures can be taken to ensure the cleanliness of the equipment:Preparation before replacement
Cleaning work area: Clean the installation site thoroughly, remove debris, dust, etc., keep the environment clean, and prevent these impurities from entering the reducer during the replacement process.
Prepare cleaning tools and materials: Prepare tools and materials such as wrenches, brushes, cleaning agents, clean water, clean towels, air compressors, etc. to clean the parts during the replacement process.
Cut off the power and hang a warning sign: Turn off the power supply of the reducer and disconnect it from other equipment. Hang a warning sign at the power switch that reads "under maintenance, do not close" to avoid safety accidents caused by misoperation.
Dismantling process
Discharge lubricating oil: First, clean the lubricating oil inside the reducer and store it in a dedicated oil drum to prevent leakage and contamination of equipment and work areas during disassembly.
Be careful when disassembling parts: Follow the instructions of the reducer and use appropriate tools to carefully disassemble the outer shell and internal parts of the reducer. Pay attention to the disassembly sequence and mark it properly. Place the disassembled parts properly to avoid collision and dust contamination. Mark the meshing point of the gear teeth, the installation position of the bearing end cover and the housing, and store the removed bolts, nuts and other small parts separately to prevent loss.
Preliminary cleaning of parts: Use a dry towel or brush to remove large particles of dirt from internal parts, especially key parts such as gears, bearings, and shafts, to prevent scratches or entry of these particles into the equipment during subsequent operations.
Cleaning of the box and its components
Choose appropriate cleaning agents: Use specialized mechanical cleaning agents and avoid using acidic or strongly alkaline chemicals to prevent damage to the surface of parts.
Thoroughly clean the parts: Dip a brush in cleaning agent to thoroughly scrub each part, focusing on cleaning the gear teeth, bearing inner rings, oil grooves, oil holes and other difficult to clean parts inside the box, ensuring thorough removal of oil stains, impurities, etc. For some gaps and holes, compressed air can be used to blow out the dust and debris inside.
Rinse and dry parts: After cleaning, rinse the parts with clean water to ensure there is no residue of cleaning agent. Then place the parts in a dry and ventilated environment to air dry naturally, or dry them with a clean towel, or use the cold air mode of a hair dryer to dry them to prevent rusting.
setup script
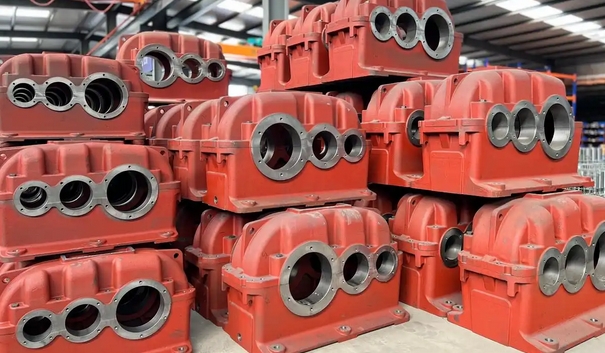
Clean the new gearbox body: Before installation, the new gearbox body should be thoroughly cleaned to remove rust proof oil, dust and other impurities on the surface. It can be wiped with a clean cloth, and if necessary, cleaned with a suitable cleaning agent, and then wiped dry.
Avoid secondary pollution: When installing parts, ensure that the hands of the installation personnel are clean to prevent oil stains, sweat, and other contaminants from contaminating the parts. At the same time, try to minimize the exposure time of parts to the air and prevent dust from adhering to the surface of the parts. The tools used during the installation process should also be kept clean to avoid bringing impurities onto the equipment.
Related News