

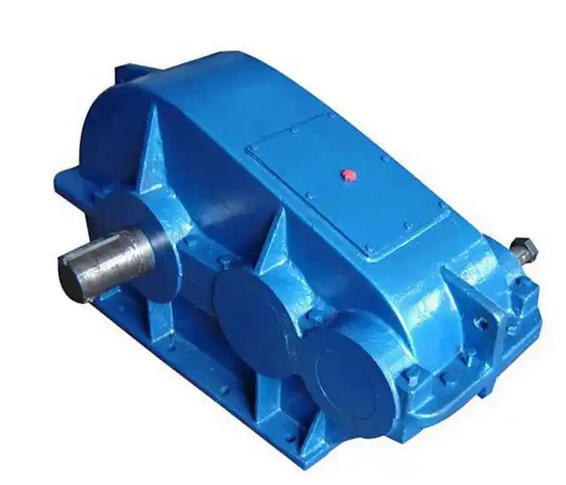
What are the operating steps for shaft alignment adjustment of ZQ1000-48.57-3CA soft tooth surface reducer
For shaft alignment adjustment of ZQ1000-48.57-3CA soft tooth surface reducer, refer to the following operation steps:1. Preparation work
Check whether the equipment base is firm and whether the anchor bolts are loose, to ensure that the installation foundation of the reducer and related equipment is stable.
Clean the surface of the coupling, check for any damage, cracks, or other defects, and confirm that the shaft end spacing meets the requirements.
Prepare the necessary tools, such as laser alignment gauge, dial gauge, feeler gauge, spirit level, wrench, gasket, etc.
2. Rough alignment
Use a ruler or feeler gauge to preliminarily align the two halves of the coupling, place the ruler above the outer circles of the two couplings, and measure whether the height is consistent. If there is a gap, it can be adjusted preliminarily by adding shims under the foot of the reducer.
Measure the distance between two couplings with a caliper and check if the distances on both sides are the same. If they are different, adjust the displacement screw at the foot of the reducer to keep the distance between the two couplings parallel and ensure that the axial and radial deviations are within the adjustable range.
3. Precise alignment
Laser centering method: Fix the laser emitter and receiver on the input shaft of the reducer and the motor shaft or the output shaft and the load shaft, respectively, so that the distance between the receivers is controlled at 1.5 times the shaft diameter. Rotate the axis to multiple angles, such as 0 °, 90 °, 180 °, 270 °. Collect data, and the instrument will automatically measure axial and radial deviations and generate alignment reports. According to the instrument prompts, use hydraulic jacks or specialized adjustment bolts to move the equipment until the deviation value meets the requirements. Generally, the radial deviation is ≤ 0.05mm and the angular deviation is ≤ 0.05mm/m.
Dial gauge method: Fix the dial gauge holder on the motor output shaft and the reducer input shaft, and install the axial gauge at a 90 ° angle with the radial gauge. The angle between the measuring rod and the axis should be ≤ 5 °. Synchronize the rotation of two axes by 360 °, take readings every 45 °, and the complete measurement should include 3 consecutive rotation data. The difference between the readings of the corresponding points of adjacent two times should be ≤ 0.02mm to be valid. Calculate the axial deviation Δ A=(Amax Amin)/2 and radial deviation Δ R=√ ((R1-R3) ^ 2+(R2-R4) ^ 2)/2 based on the readings, and then adjust by adding or removing shims or moving the device base to ensure parallel offset ≤ 0.05mm and angular deviation ≤ 0.02mm/m.
4. Consider the impact of thermal expansion: Calculate the thermal expansion compensation based on the temperature changes during equipment operation. For example, for a carbon steel shaft, its coefficient of linear expansion α=11.5 × 10 ⁻⁶/℃. If the shaft length L is 300mm and the temperature difference Δ T during operation is 40 ℃, the thermal displacement is about 0.14mm. Compensation should be reserved during cold alignment to make the centers of the high-speed and low-speed shafts of the reducer slightly lower than the centers of the motor shaft and the driven shaft.
