

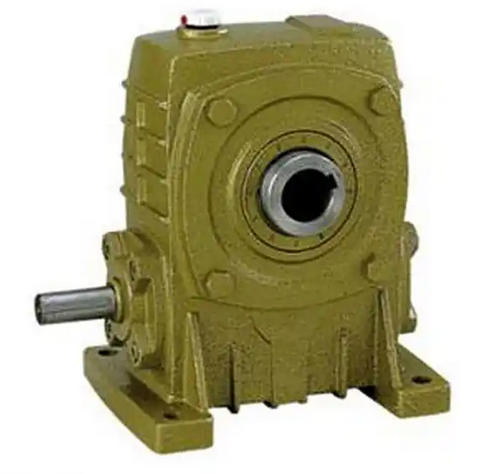
How to protect the worm gear and worm joint surface of WPKA80-10-A reducer during disassembly and inspection process
When disassembling and inspecting the worm gear of WPKA80-10-A reducer, the following key steps should be followed to protect the joint surface and avoid damaging the meshing accuracy and surface integrity:1、 Preparation before disassembly
Cleaning and Marking
Thoroughly clean the external oil stains of the box to prevent impurities from entering the meshing area.
Make assembly marks on key components such as worm gears, worm gears, and bearing seats to ensure correct position and orientation during reassembly.
Selection of specialized tools
Use a hydraulic puller or screw press to disassemble the worm gear, avoiding direct impact on the tooth surface by hammering.
Copper or nylon pads should be placed at the contact area of the shaft head to prevent scratching the shaft neck.
2、 Worm gear separation operation
Key points for dismantling worm gear
Heat the worm gear to 120 ℃ (pour oil onto the pot) and slowly pull it out to avoid forcefully prying and scratching the tooth surface.
Check if there are scratches on the threaded surface of the worm gear. Minor damage can be manually repaired with W10 grinding paste.
Worm gear protection measures
When disassembling the worm gear, wrap it with a nylon sling or soft cloth to prevent the bronze tooth surface from colliding.
Check the wear of the worm gear tooth surface. If the tooth thickness decreases by more than 5%, it needs to be paired with grinding or replaced.
3、 Joint surface maintenance
Cleaning and rust prevention
Clean the oil sludge on the tooth surface with kerosene, and prohibit the use of hard tools such as wire brushes.
Apply anti rust oil (such as molybdenum disulfide grease) and cover with dust-proof film during short-term storage.
Pre assembly inspection
Measure the thickness and pitch of the worm gear teeth to ensure consistency with the design drawings.
Pre check the contact area using the coloring method, and adjust the center distance if the contact area is less than 70%.
4、 Precautions for reinstallation
Lubrication and running in
Add a small amount of lubricating oil for the first time and run at low speed without load for 30 minutes to form uniform contact marks.
Thoroughly replace the oil after running in and remove any metal debris generated during running in.
Precision retest
The verticality error of the axis is ≤ 0.02mm/m, and the lateral clearance is controlled within 0.15~0.3mm.
During the no-load test, the monitored vibration is ≤ 6.3mm/s and there is no abnormal noise.


