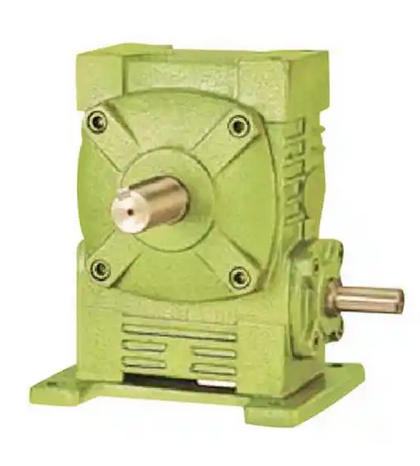
How to detect abnormal meshing of worm gear and worm in WPWA70-30-B reducer
The detection of abnormal meshing of worm gear and worm gear in WPWA70-30-B reducer requires a comprehensive analysis of the following methods, combined with quantitative indicators and operational status:1、 Mesh clearance detection
1. Centimeter measurement method
Place the contact of the dial gauge against the tooth surface or end surface of the worm gear, fix the worm gear and rotate the worm gear in both directions, and record the maximum swing amplitude (recommended accuracy ± 0.01mm). The qualified clearance is usually 0.1-0.3mm. If it exceeds 0.3mm or the clearance is uneven in both forward and reverse directions, the center distance needs to be adjusted or worn parts need to be replaced
2. Gauge assisted detection
Insert feeler gauges at 3-4 uniform positions around the circumference of the worm gear and measure the tooth flank clearance. Ensure that there is slight resistance and no local looseness/tightness during insertion.
2、 Inspection of tooth surface contact status

Coloring method verification
Apply red lead oil to the worm gear tooth surface and manually rotate it 2-3 times to observe the contact marks on the worm gear tooth surface:
Qualification criteria: The contact area is located in the middle of the tooth surface, with a tooth width direction of ≥ 60% and a tooth height direction of ≥ 50%;
Abnormal correction: If the trace deviates from the tooth tip, the center distance needs to be increased, and if it deviates from the tooth root, the center distance needs to be reduced.
Contact spot analysis
If the contact area is diagonally distributed or unevenly distributed, it may be caused by worm lead error or center distance deviation, and further diagnosis should be carried out in conjunction with a double-sided meshing inspection instrument.
3、 Running status monitoring
Noise and vibration
Abnormal noise (such as metal friction sound) or vibration amplitude greater than 0.1mm/s indicates poor meshing, and it is necessary to investigate tooth wear or bearing damage.
Temperature rise and efficiency
Continuous oil temperature above 80 ℃ or significant decrease in transmission efficiency (such as torque fluctuation>5%) may be due to tight meshing or lubrication failure.
4、 Comprehensive measurement tool
Universal tool microscope: detects worm gear tooth profile errors (such as axial tooth profile deviation of Archimedes worm gear);
Roller cutter inspection instrument: high-precision measurement of worm helix and tooth profile errors, suitable for worms with large lead angles.


