

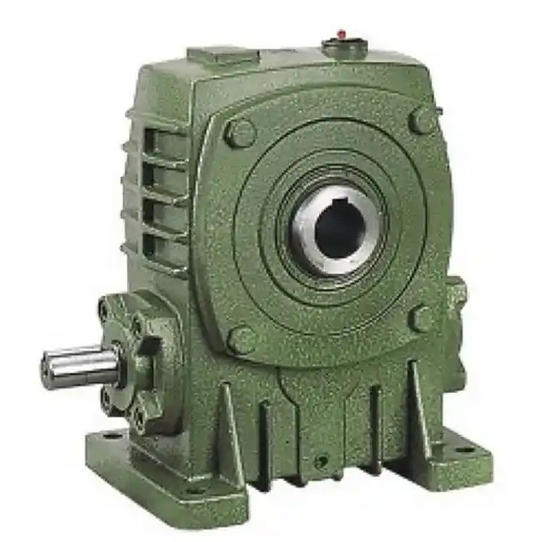
How to check the meshing of the worm gear of WPKA135-30-B reducer after disassembly and inspection
After disassembly and inspection, check the meshing of the worm gear of WPKA135-30-B reducer. The core is to determine whether the meshing meets the design requirements through three dimensions: visual observation, contact trace analysis, and precision measurement, in order to avoid operating noise, increased wear, or decreased efficiency caused by poor meshing.1、 Preparation in advance: Ensure that the inspection conditions and tools are compatible
Before inspection, basic preparations should be made to avoid environmental interference or improper tools affecting judgment:
Clean the components, remove impurities and interference
After disassembling and inspecting the worm gear and worm gear, it is necessary to thoroughly clean the meshing tooth surface with kerosene or special cleaning agent (to remove residual oil sludge and iron filings), and blow dry it with compressed air (pressure ≤ 0.4MPa) to ensure that the tooth surface is not obstructed by dirt - residual impurities can cause misjudgment of contact marks and even scratch the tooth surface.
Fixed components, simulate actual assembly state
Preliminarily install the worm gear and worm gear back into the box according to the positioning marks before disassembly and inspection (such as the shaft end scale and bearing end cover position) (there is no need to completely tighten all bolts, only fix the joint between the bearing end cover and the box to ensure that there is no obvious movement of the shaft system), simulate the center distance and installation angle during actual operation (WPKA135-30-B is a worm gear structure, and the accuracy of the center distance and shaft intersection angle directly affects meshing).
Prepare specialized tools
Red lead powder (or specialized meshing inspection coating, such as gear contact agent): used to display meshing contact traces, it is necessary to choose fine particle type (to avoid particles that are too large to cover up real contact).
Feeler gauge (accuracy 0.01mm): measures the backlash between teeth.
Dial gauge (with magnetic seat): measures the radial runout of the shaft system to assist in determining installation accuracy.
Soft bristled brush (or cotton swab): Apply red lead powder to avoid scratching the tooth surface.
2、 Core inspection steps: 3D verification from "traces", "gaps", and "accuracy"
1. Inspection of meshing contact marks (the most intuitive core indicator)
Use red lead powder to display the contact area of the tooth surface, and determine whether the meshing position and area are qualified. The steps are as follows:
Apply red lead powder: Dip a soft bristled brush into a small amount of red lead powder and evenly apply it to 2-3 complete tooth surfaces of the worm gear (the coating thickness should be "able to cover the tooth surface without accumulation", about 0.02-0.03mm), avoiding applying it to the worm gear tooth surface (to prevent overlapping marks).
Manually rotate to form contact marks: Slowly and steadily rotate the worm gear by hand (1-2 turns clockwise and counterclockwise respectively to ensure sufficient meshing), and gently support the worm gear shaft end to avoid shaft movement during rotation; If manual rotation is difficult, the bearing end cap bolts can be slightly loosened (but the shaft must not be skewed), and forced rotation is prohibited (to prevent scratches on the tooth surface).
Related News


