How to determine whether the alignment of multi-stage reducers is good
To determine whether the alignment of a multi-stage reducer is good, the core is to detect the relative positional deviation (including parallelism and coaxiality) of the input shaft, intermediate shafts, and output shaft axes, as well as the alignment between the shaft and the coupling (or motor shaft) - poor alignment can lead to gear misalignment, bearing overheating, abnormal vibration, and long-term shortened service life. The following provides practical judgment methods from three aspects: "basic inspection (quick judgment)", "professional detection (precise quantification)", and "identifying negative features", covering on-site operations and professional tool application scenarios:1、 Basic inspection: No need for professional tools, quickly identify obvious alignment defects
Suitable for daily inspections or preliminary investigations, identifying anomalies through "seeing, listening, touching, and testing", with a low operating threshold:
1. Observe the appearance and component status
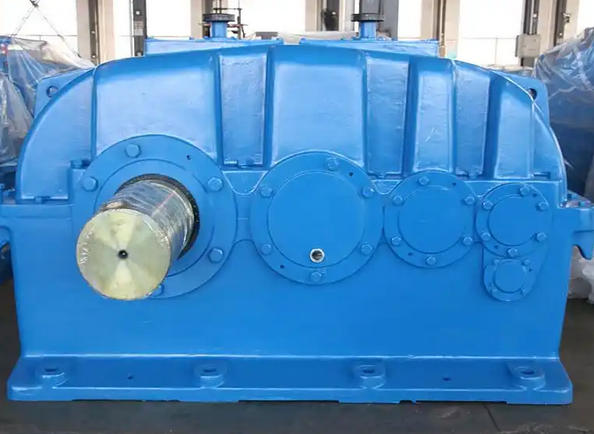
Gear meshing marks: Open the observation hole of the reducer (with power off), check the meshing contact spots of each level of gear (can be observed with red lead powder):
Good alignment: The contact spot is evenly distributed in the middle of the tooth surface, accounting for more than 60% of the tooth surface width (cylindrical gears) or more than 50% of the tooth height (bevel gears);
Poor alignment: If the contact spot is biased towards one end of the tooth surface (such as towards the tooth top/root, tooth width side), or if there is "edge contact" (only traces on the tooth surface edge), it indicates that the axis parallelism deviation exceeds the standard.
Shaft end movement and radial runout: Gently shake the coupling or shaft end by hand (in a stopped state). If there is obvious axial or radial movement, it may be due to bearing wear causing shaft displacement, indirectly reflecting alignment issues.
2. Monitor vibration and noise during operation
Vibration judgment: Touch the gearbox body with your hand (after running for 1 hour). If there is obvious vibration in a certain bearing seat area (compared to other bearing seats), or if the overall vibration frequency is accompanied by "periodic abnormal noise" (such as "clanging" meshing impact sound), it may be due to poor alignment of the shaft system causing uneven gear meshing clearance;
Noise assessment: During normal centering, the operating noise of the gearbox is a "uniform gear meshing sound"; If there is a "sharp and piercing sound" (local wear on the tooth surface caused by unbalanced load) or a "low-frequency roar sound" (uneven bearing force on the shaft caused by axis offset), further alignment testing is required.
3. Check the bearing and oil temperature
Bearing temperature: Use an infrared thermometer to measure the temperature of each level of bearing seat (after 30 minutes of operation). When the alignment is good, the temperature difference of the bearings on the same side should be ≤ 5 ℃; If the temperature of a certain bearing is significantly higher (such as exceeding the ambient temperature by 40 ℃, or being more than 10 ℃ higher than other bearings), it may be due to poor alignment of the shaft system, resulting in excessive radial force on the bearing and increased friction;
Oil temperature changes: Poor alignment can lead to increased gear meshing resistance and faster oil temperature rise - under normal operating conditions, the oil temperature remains stable at 40-60 ℃; If the oil temperature continues to exceed 70 ℃ (without heavy load and normal ambient temperature), it is necessary to investigate the alignment problem (while excluding poor lubrication factors).

