

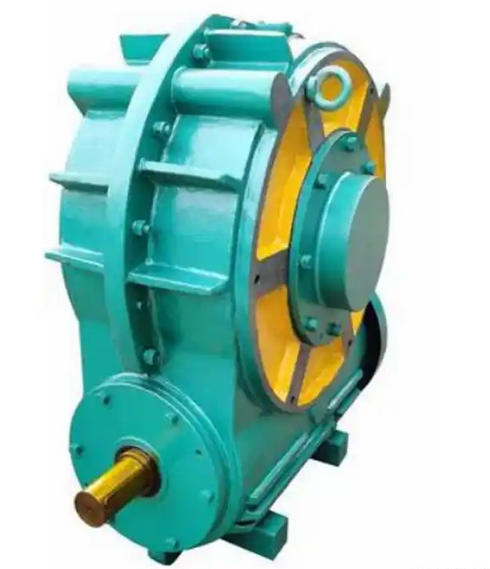
How to optimize the coaxiality between the motor shaft and the shaft of SCWS225-40-F worm gear reducer
Optimizing the coaxiality between the motor shaft and the input shaft of SCWS225-40-F worm gear reducer requires precise alignment and adjustment. The specific steps are as follows:1、 Preparation before installation
Basic inspection
Ensure that the installation base is flat and firm, the pre tightening force of the anchor bolts is uniform, and avoid axis deviation caused by foundation deformation.
Use a spirit level to check the levelness of the installation surface of the reducer, with an error of ≤ 0.05mm/m.
Shaft end cleaning
Clean the oil stains and burrs on the end faces of the motor shaft, gearbox input shaft, and coupling connection to avoid impurities affecting the centering accuracy.
2、 Coupling alignment method
Percentage table measurement method (recommended)
a. Fix the dial gauge on the motor shaft or gearbox input shaft, and measure the radial/axial runout of the outer circle and end face of the coupling:
Radial runout: The maximum and minimum reading difference in the circumferential direction of the outer circumference of the coupling is ≤ 0.05mm.
Axial runout: The axial offset of the coupling end face is ≤ 0.02mm.
b. When adjusting the position of the motor or reducer, prioritize adjusting the axial height through shims, and then fine tune the lateral offset.
Laser alignment instrument (high-precision scene)
Real time monitoring of two axis deviation using a laser alignment instrument, with software guidance for adjustment, achieving an accuracy of ± 0.01mm.
3、 Adjustment steps
1. Preliminary rough adjustment
Loosen the anchor bolts of the motor, manually move the motor to make the coupling gap uniform, and preliminarily align the axis.
2. Precise fine-tuning
a. Adjust according to the reading on the dial gauge using the following methods:
Radial deviation: Move the motor base horizontally or adjust the thickness of the gasket.
Axial deviation: Increase or decrease the gasket group at the bottom of the motor or reducer to control the height difference.
b. After each adjustment, retest until the jumping value meets the standard.
3. Final fastening
After the alignment is completed, tighten the anchor bolts in stages according to the diagonal order to avoid unilateral stress deformation.
4、 Verification and maintenance
No load trial operation
Monitor vibration and noise after startup, and recalibrate for abnormal vibrations (>4.5mm/s).
The temperature rise of the bearing should be ≤ 40 ℃, and the coaxiality should be retested after continuous operation for 1 hour.
Regular inspection
Check the tightness and alignment status of the coupling bolts every 3 months. Long term operation may cause displacement due to foundation settlement.
Precautions
Avoid vertical installation as gravity can cause the shaft system to sag, increasing the difficulty of alignment.
When using an elastic coupling, it is allowed to appropriately relax the axial deviation (≤ 0.1mm) to compensate for elastic deformation
Related News


