

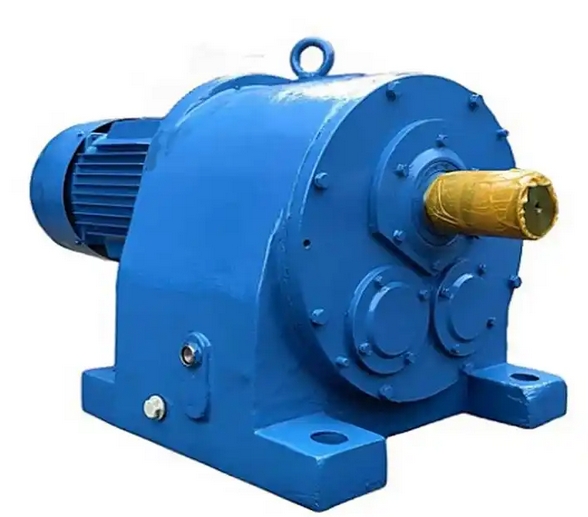
How to properly install the TY160-25-11KW hard-tooth surface gear reducer.
The standardized installation of TY160-25-11KW reducer can refer to the following methods:Preparation before installation:
Tools and materials: Prepare a torque wrench with the required accuracy (error ≤ ± 3%), and select according to the specifications of the gearbox bolts. For example, M8 bolts can correspond to a torque of 25-30N · m. Use a laser alignment instrument (accuracy ≤ 0.01mm/m) to detect coaxiality. The sealing element is made of fluororubber material, and the lubricating grease should be selected according to the gear material. For example, lithium based grease is used for steel gears, and the filling amount should be clearly specified.
Environmental treatment: Use a dust-free cloth dipped in isopropanol to wipe the installation area and control the entry of dust particles (>5 μ m). If the environmental humidity is greater than 60%, the gearbox should be placed in a dry environment 24 hours in advance. The flatness error of the installation table is ≤ 0.1mm/m, the thickness of the concrete foundation is ≥ 200mm, or a cast iron platform with a hardness of ≥ HB200 is used.
Core installation steps:
Base fixation: The "three-step fastening method" is used to tighten the bolts, with initial tightening (50% rated torque) → re tightening (80%) → final tightening (100%), with a 10 minute interval between each step. Apply anti loosening glue to the bolt, exposing a thread length of 2-3 threads on the nut. Measure with a precision level at the input and output shaft ends of the reducer, with a horizontal deviation of ≤ 0.05mm/m. If it exceeds the tolerance, adjust by inserting copper pads.
Motor and input shaft connection: Choose a coupling according to the coaxiality requirements. Rigid couplings are suitable for scenarios with coaxiality ≤ 0.02mm, otherwise elastic couplings should be used. During installation, fix a dial gauge on the motor shaft end and measure the radial runout error by rotating the coupling. The axial displacement should be ≤ 0.03mm and ≤ 0.02mm. Ensure that the fit clearance between the key and keyway is H7/h6, and apply molybdenum disulfide grease during assembly.
Output shaft and load connection: The maximum allowable radial load at the output shaft end should be ≤ the rated value of the reducer, and the installation position of the gear or synchronous pulley should be at least 2 times the shaft diameter from the shaft end. Install the hub using the hot installation method, heat the hub to 80-100 ℃ at a heating rate of ≤ 5 ℃/min. After cooling, use a feeler gauge to check the fit between the hub and the shaft, with a gap of ≤ 0.01mm.
Lubrication and sealing: The first time lubricating oil is added, it should be left to stand for 2 hours, and the oil level should be 2/3 of the lowest gear tooth height submerged. Apply sealant to the sealing ring groove before installation, with a compression rate controlled at 20% -30%. Conduct a pressure test before trial operation, introduce 0.1MPa compressed air, maintain the pressure for 30 minutes, and check for no bubbles with soapy water.
Debugging and testing:
No load test run: Run for 30 minutes, use a vibration analyzer to detect in the radial, axial, and vertical directions of the reducer housing, and the vibration speed is ≤ 1.8mm/s. When the ambient temperature is 25 ℃, the temperature rise of the shell is ≤ 40K.
Related News


