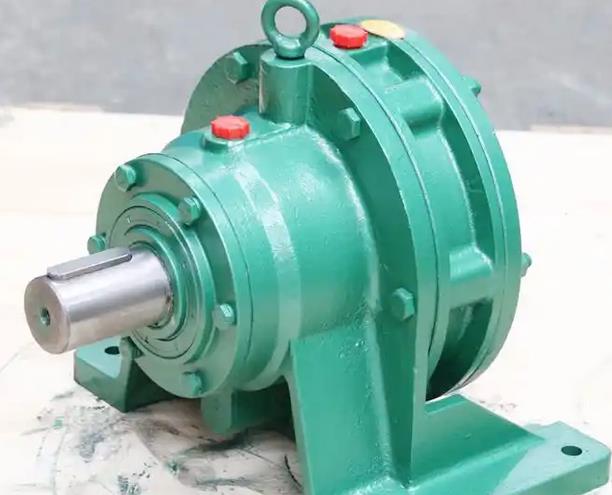
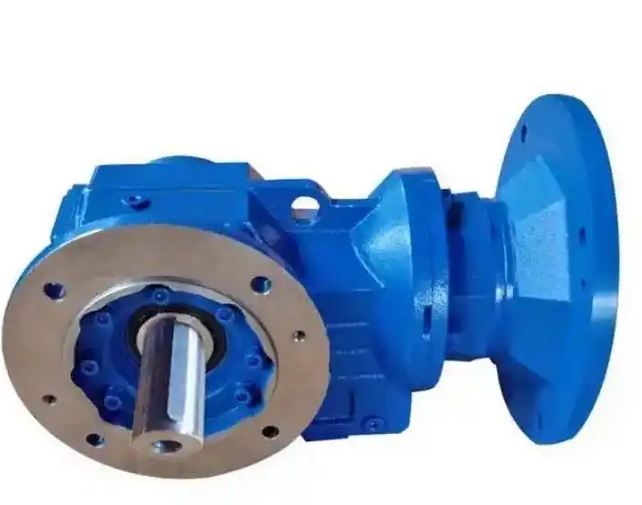
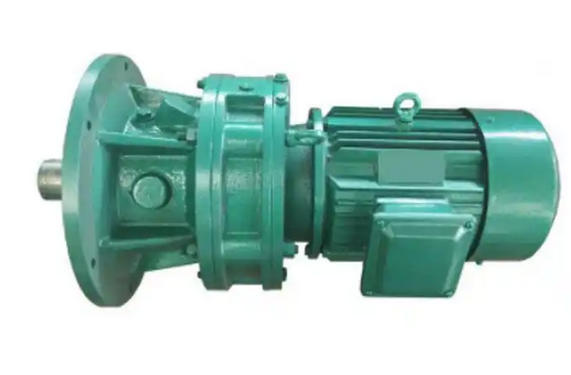
How to use penetration testing to detect whether XLD9145-29-1.5KW cycloidal pinwheel reducer has cracks
Core operating steps of XLD9145-29-1.5KW cycloidal pinwheel reducer using penetration testing (executed according to GB/T 9443-2007 standard)1. Penetration treatment (key: ensure that the penetrant fully penetrates the crack)
Spray the penetrant evenly on the tested part with a spray tank to ensure full coverage (including the area where the crack may extend). The thickness of the penetrant should be suitable to form a continuous film to avoid flowing.
Static penetration: The crack of the 1.5KW light load component is relatively shallow, and the penetration time is controlled within 5-8 minutes (at an ambient temperature of 15-35 ℃, it can be extended to 10 minutes if the temperature is too low, and shortened to 3-5 minutes if the temperature is too high), during which the penetrant should be avoided from drying up or being contaminated.
Supplementary penetration: If the surface penetrant dries up during the penetration process, it is necessary to spray it again to ensure that there is always fresh penetrant inside the crack.
2. Clean excess penetrant (key: do not flush the penetrant inside the crack)
Spray cleaning agent spray evenly on the tested part, or gently wipe with a rag dipped with cleaning agent to remove the excess penetrant on the surface (follow the principle of "wiping from the crack free area to the crack area" to avoid the penetrant in the crack being taken away due to horizontal wiping).
Cleaning standard: There should be no obvious red residue on the surface, and there should be no red marks after gently wiping with a clean cloth, and there should be no "flower" phenomenon (excessive cleaning may cause the loss of penetrant in cracks; insufficient cleaning may interfere with the test results due to residual penetrant).
Finally, dry the surface with a dry cloth to ensure that there is no residual cleaning agent or moisture.
3. Imaging processing (key: forming clear crack traces)
After the surface is completely dry, use the developer spray to evenly spray the tested parts to form a thin and uniform white film (about 0.05-0.1mm thick) to avoid spraying too thick (too thick will cover the crack trace) or missing spraying.
Static imaging: 3-5 minutes, allowing the imaging agent to adsorb the penetrant inside the crack through capillary action, gradually forming red crack marks (insufficient imaging time, unclear marks; too long may cause the marks to spread).
4. Observation and judgment (key: distinguishing cracks from pseudo defects)
Observing the environment: Under natural light or strong flashlight illumination, use a 5-10 times magnifying glass to observe the surface of the white developer.
Judgment criteria:
(1) If there are clear red linear traces (continuous or intermittent), serrated traces, and the trace direction is consistent with the stress concentration direction (such as the circumferential direction of the shaft shoulder or the longitudinal direction of the keyway), it is determined that there is a surface opening crack;
(2) If there are dotted or irregular red spots, they are mostly residual surface impurities or small pores, which can be eliminated by re cleaning, drying, and retesting;
(3) If the marks can be eliminated by light grinding and there is no deep extension, they are mostly surface scratches, not cracks.
Record and archive: Use a camera to capture crack traces, mark the crack location, length, and direction (such as "Root of output shaft keyway, longitudinal crack, length about 8mm"), as a maintenance basis.


