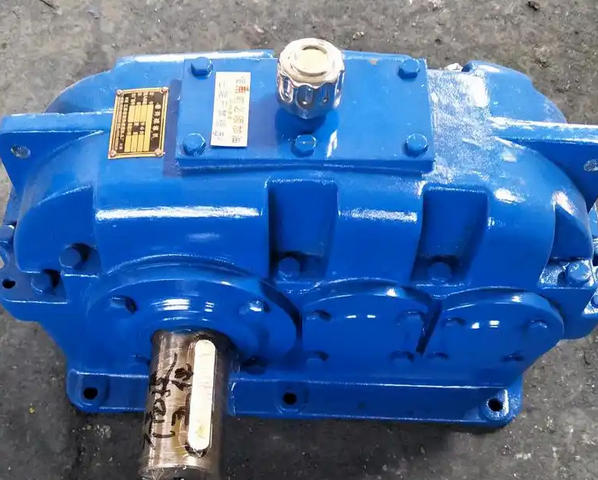
How to conduct quality inspection after welding the NGW123-22 planetary reducer frame made of cast iron
After welding the NGW123-22 planetary gearbox base made of cast iron material, a systematic and multi process collaborative quality inspection plan must be implemented to ensure the integrity of the weld seam, structural strength, and long-term operational stability. The plan should cover key aspects such as visual inspection, non-destructive testing, hardness testing, and verification of form and position tolerances, and comply with industry standards such as GB/T 12642-2019.1、 Post weld appearance quality inspection (preliminary screening)
1. Inspection content:
Whether the weld formation is uniform, and whether there are surface defects such as undercutting, porosity, slag inclusion, lack of fusion, cracks, etc;
Whether the weld seam height meets the design requirements (generally 1-3mm) and whether the transition is smooth;
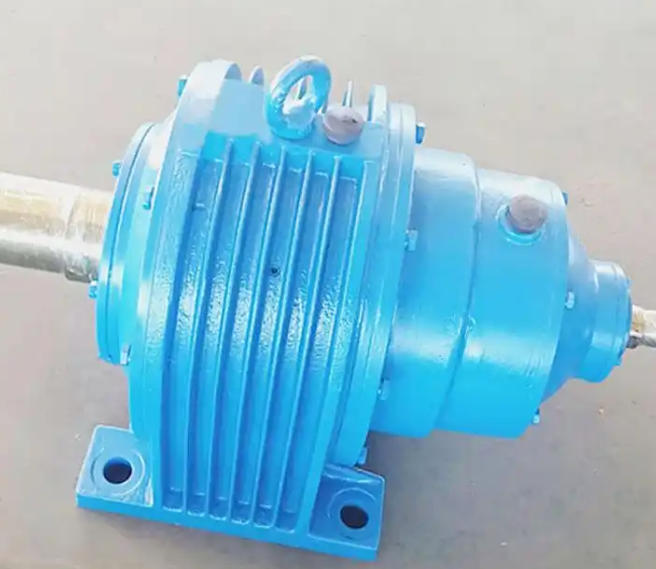
Whether the welding area is clean and free of spatter and weld bead residue.
2. Testing method:
Visual inspection combined with observation under a 5-10 times magnifying glass;
Use a weld inspection ruler to measure the size and angle of the weld seam;
If necessary, use a pointed hammer to lightly tap and determine if there is incomplete welding or internal looseness.
2、 Non destructive testing: Magnetic particle testing (MT) is the main method, supplemented by ultrasonic testing (UT)
1. Magnetic particle testing (MT) - detecting surface and near surface cracks
Suitable for ferromagnetic materials (such as HT250 gray cast iron), it can effectively detect defects such as microcracks, cold shuts, and incomplete penetration in welds and heat affected zones.
Testing process:
Surface pretreatment: Clean the oil stains, oxide scale, and rust within 50mm of the weld seam and its surroundings to achieve a Sa2 cleanliness level as specified in GB/T 8923;
Magnetized workpiece: Use AC or DC magnetic yoke method to magnetize the weld area longitudinally or circumferentially, ensuring that the magnetic field direction is perpendicular to the expected defect;
Apply magnetic suspension: Spray fluorescent or non fluorescent magnetic suspension and observe magnetic traces under ultraviolet light or natural light;
Defect assessment: According to JB/T 6063-2007 standard, magnetic traces are classified, and linear defects with a length greater than 2mm or dense point defects are considered unqualified;
Demagnetization treatment: After the inspection is completed, demagnetize the workpiece to avoid residual magnetic fields affecting subsequent assembly or operation.
2. Ultrasonic testing (UT) - detecting internal defects
Used to detect volume or area type defects such as porosity, slag inclusion, lack of fusion, cracks, etc. inside the weld seam.
Testing points:
If the bottom wave significantly decreases or disappears, accompanied by clutter, it may be severe looseness or shrinkage;
If the defect wave coexists with the bottom wave, there is no significant decrease in the bottom wave, and it is mostly a single pore or slag inclusion.
Select angle probes (K1~K2) with a frequency of 2.0~2.5MHz, suitable for the characteristics of high sound wave attenuation in cast iron materials;
Use standard test blocks of the same material as the base material to adjust the sensitivity of the flaw detection;
Using a single pulse reflection method, observe the attenuation of the bottom wave and the shape of the defect wave:

