

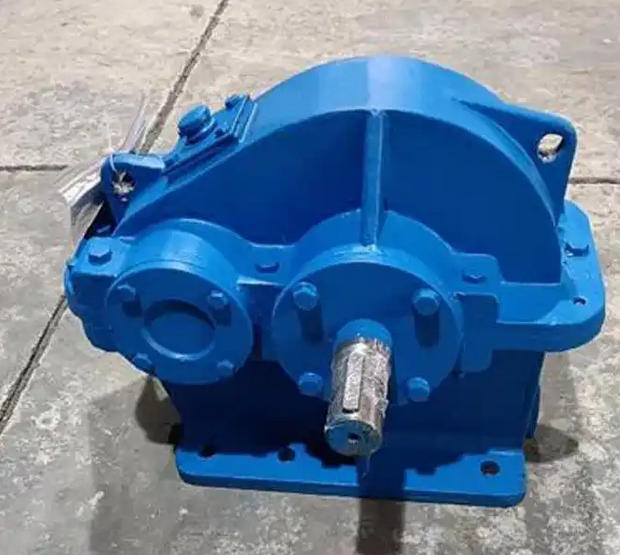
How to readjust the gasket after removing the soft foot of ZD30 reducer
After the soft feet are eliminated, readjusting and installing the gasket is the core link to ensure long-term stable operation of the equipment, avoid vibration and alignment failure.The following are the standardized operating steps and core precautions for readjusting and installing gaskets:
1、 Step 1: Preliminary preparation and cleaning
1. Safety lockout: Ensure that the gearbox has been completely shut down and perform the lock out and tag out (LOTO) procedure to ensure safe operation.
2. Surface cleaning: Thoroughly clean the dirt, rust, old paint or residual debris on the bottom of the reducer foot and the surface of the foundation base. The contact surface must be kept absolutely clean, otherwise it will affect the stability of the support.
2、 Step 2: Selection and combination of gaskets (core points)
1. Material and Quality: Steel or stainless steel gaskets must be used. It is strictly prohibited to use non-metallic gaskets that are prone to deformation and creep (such as plastic, brass, etc.), and old gaskets that have already rusted, bent, or damaged should not be reused.
2. Quantity control: The total number of gaskets under each foot must not exceed 3 pieces (in extremely special cases, the maximum is 4 pieces). Prioritize using a single shim with an appropriate thickness, rather than stacking multiple thin sheets. Excessive number of gasket layers can itself cause new soft feet and vibrations.
3. Sandwich installation method: If multiple gaskets must be used, please use the sandwich method - sandwich the thinner gasket in the middle of the thicker gasket. This can effectively protect the sheet from crushing or curling.
4. Size requirement: The area of the gasket should be slightly larger than the area of the foundation base to ensure that it can fully support the load area of the foundation.
3、 Step 3: Installation and fastening
1. Correct placement: Insert the assembled gasket under the foot of the ground until it touches the anchor bolt, and then pull it back slightly outward (to prevent the gasket edge from being crushed when the bolt is tightened). It is strictly prohibited to insert thin sheets only on one side of the bolt or in a localized area of the foot.
2. Diagonal tightening: According to the manufacturer's specified torque, use a torque wrench and strictly follow the diagonal sequence step by step (e.g. 50% first, then 80%, and finally 100%) to evenly tighten all anchor bolts.
4、 Step 4: Final verification (essential)
After re tightening all bolts, the complete soft foot detection program must be run again (using the soft foot measurement function of the laser centering instrument or the dial gauge/plug gauge detection method).
1. Loosen the anchor bolts one by one and observe the position change of the shaft or the lifting amount of the foundation.
2. Ensure that all changes in the foundation are within the tolerance range (usually requiring displacement less than 0.05mm). Only when the verification is qualified can it be considered that the gasket has been truly readjusted.
Related News


