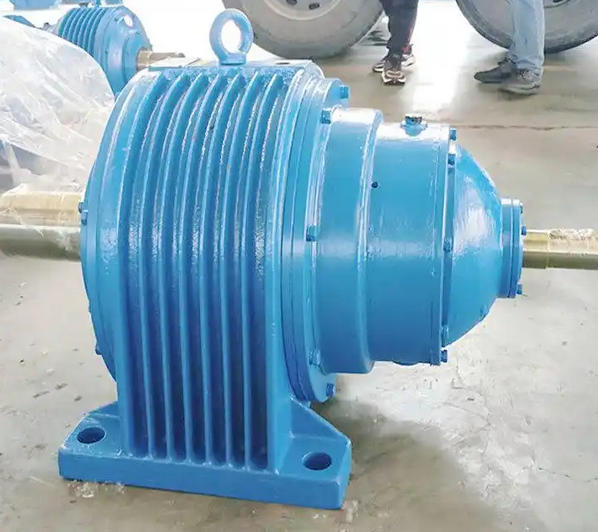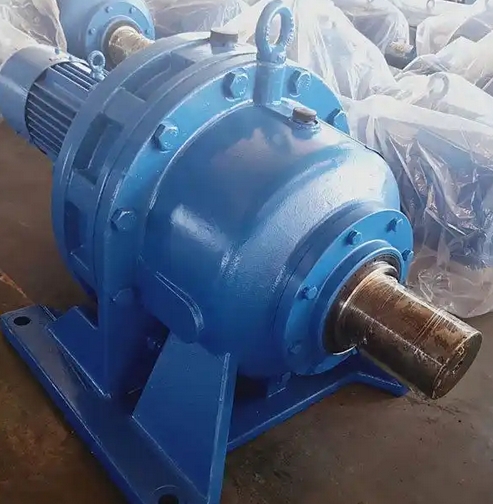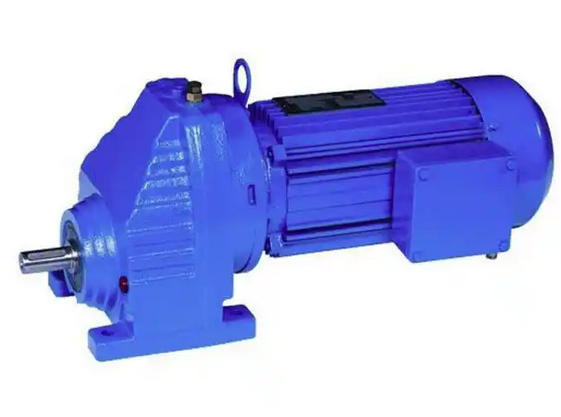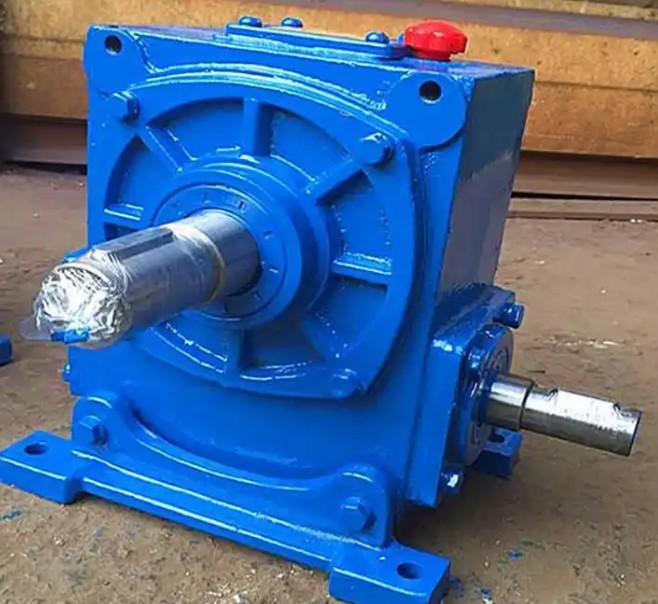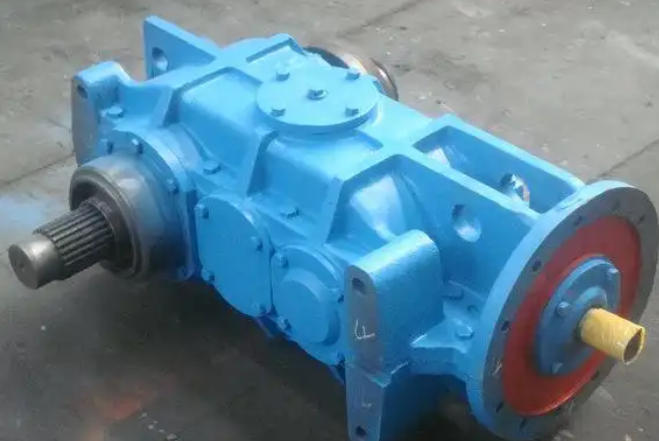


What should be noted when connecting the ZD series reducer to the motor
1. Preparation and inspection before installationAppearance and dimensional inspection: Before installation, it is necessary to confirm whether the motor and reducer are intact and undamaged, and strictly check whether the dimensions of the connection parts between the two match, especially the dimensions and fitting tolerances of the motor's positioning protrusion, input shaft, and reducer groove.
Cleaning treatment: The anti rust oil on the motor input shaft, positioning boss, and reducer connection parts must be wiped clean with gasoline or zinc sodium water. This step is to ensure the tightness of the connection and the flexibility of operation, and to prevent unnecessary wear and tear.
Remove excess components: Before connecting, the keys on the motor shaft should be removed.
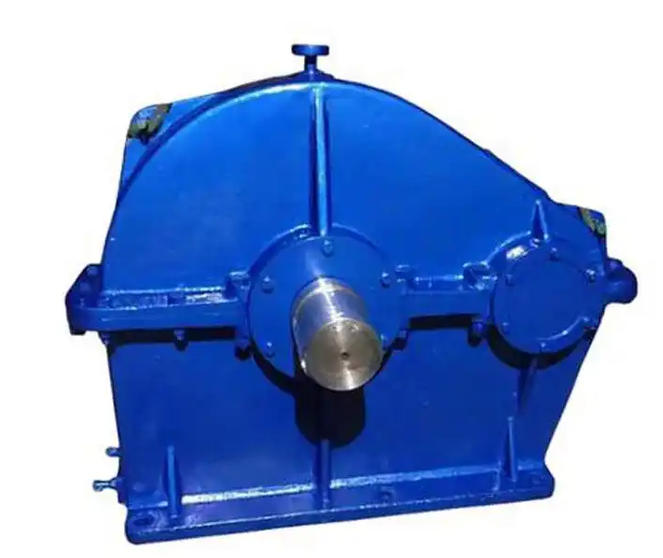
2. Connection and assembly requirements
Ensure concentricity and parallelism: When connecting, it is necessary to ensure that the output shaft of the reducer is concentric with the input shaft of the motor, and that the outer flanges of the two are parallel. If the concentricity is not consistent, it will cause the motor shaft to be forced to bend, and long-term exposure to radial forces may eventually break the motor shaft or cause wear on the gearbox gears.
Violent tapping is strictly prohibited: During installation, it is strictly prohibited to use tools such as hammers to strike, in order to prevent excessive axial or radial force from damaging bearings or gears.
Standardize bolt tightening: To ensure even force distribution, first tighten the installation bolts at any diagonal position (do not tighten), then tighten the bolts at the other two diagonal positions, and finally tighten the four installation bolts one by one. Finally, tighten the clamping screw of the input end hole of the reducer.
3. Lubrication and friction surface treatment
Friction surface oil prohibition: The friction belt inside the reducer and the friction surface of the extended end of the internal gear do not need to be oiled to avoid reducing the friction coupling force.
Internal lubrication: The reducer should be coated with high and low temperature resistant grease, with a filling amount of approximately 1/31 of the internal space.
4. Trial operation and subsequent inspection
No load test run: After installation and confirmation of correct oil level, no load test run can be carried out, and the test run time shall not be less than 2 hours.
Operation status monitoring: The operation should be smooth, without impact, vibration, noise, or oil leakage. If any abnormalities are found, they should be promptly eliminated. After a period of operation, the oil level should be checked again to prevent leakage of the casing.