
How to Quickly Locate Gearbox Vibration
Step 1: Listen to the sound and touch the temperature (quick initial screening)Abnormal sounds: Abnormal sounds are often signals for equipment to seek help. If you hear a regular "clack" sound, it is likely due to internal gear wear, broken teeth, or excessive meshing clearance; If it is a sharp and continuous "hissing" or "whistling" sound, it is usually a typical signal of bearing damage; If accompanied by a dull and uneven "rumbling" sound, it may be due to loose installation base causing overall vibration.
Touch temperature: In the shutdown state (pay attention to preventing scalding), quickly touch the shell with the back of your hand. If a certain bearing end cover or shaft outlet position experiences abnormal high temperature locally, it is highly likely that this is the fault point; If it is hot to the touch as a whole, be alert to poor heat dissipation caused by low lubricating oil level, deteriorated oil, or overloaded operation.
Step 2: Check external installation and connection (the most common cause)
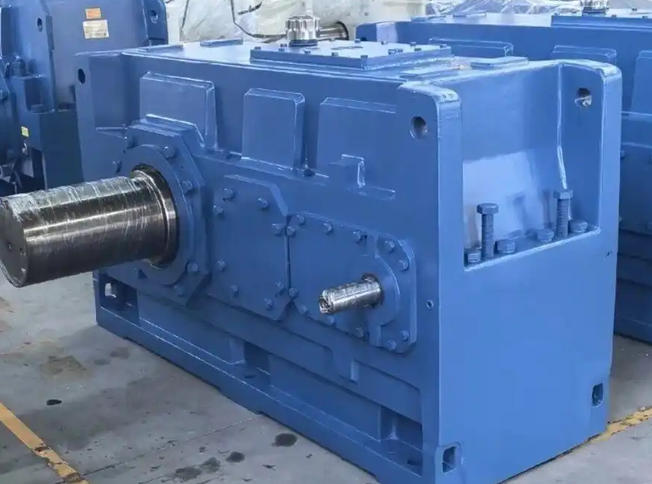
Check fasteners: Check whether the anchor bolts, motor installation bolts, and flange connection bolts between the reducer and the load end are loose. Uneven pre tightening force can cause deformation of the shell or trigger overall shaking.
Coaxiality calibration: Use tools such as a dial gauge to measure the coaxiality between the motor shaft and the input shaft of the reducer, as well as between the output shaft and the load end. Structures such as right angle planetary reducers require extremely high coaxiality. If the radial or angular deviation exceeds the standard, it will cause uneven force during low-speed operation, leading to significant shaking.
Check the coupling: Check whether the elastic components of the coupling are aging and cracking, whether the alignment error is within the allowable range, and whether more than 30% of the shaking problem is related to abnormal coupling.
Step 3: Check the lubrication and oil condition (basic maintenance)
Check the oil level and quality: Observe the oil mirror to confirm if the oil level is between 1/2 and 2/3 of the specified range. If the oil is cloudy, blackened, clumped, or contains metal debris, it indicates that the lubricating grease has aged and failed, which can cause an increase in internal friction resistance and trigger stuttering shaking.
Check the seal: Check for oil leakage at the bottom, joint surface, and shaft seal of the reducer. Even minor leaks can lead to oil deficiency and lubrication failure over time.
Step 4: Instrument Monitoring and Internal Inspection (Deep Diagnosis)
Vibration analysis: If visual inspection is unsuccessful, it is recommended to use a vibration meter or vibration sensor to collect data. High frequency vibration often points to gear meshing problems, while low-frequency vibration is often related to bearing damage. By comparing spectral features, the fault area can be accurately identified.
Dismantling inspection: If it is confirmed to be an internal problem, power off and lock the robotic arm to a safe position before disassembling. Focus on checking whether there is wear, pitting, peeling on the gear tooth surface, as well as whether the bearing rotates flexibly, whether there is jamming, and whether there is excessive radial clearance.
Related News