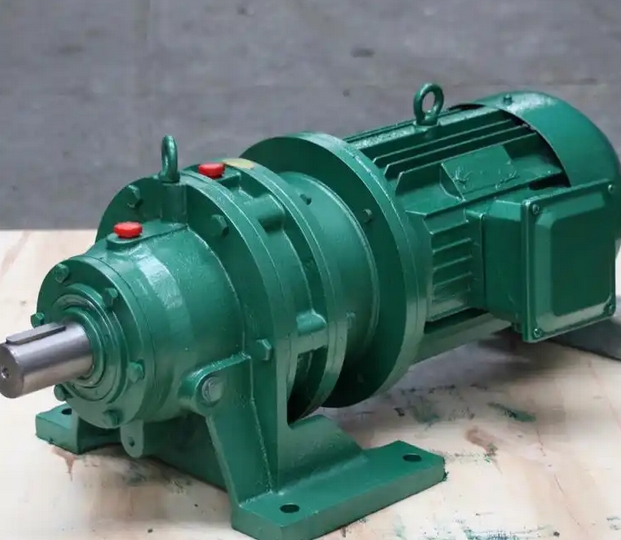
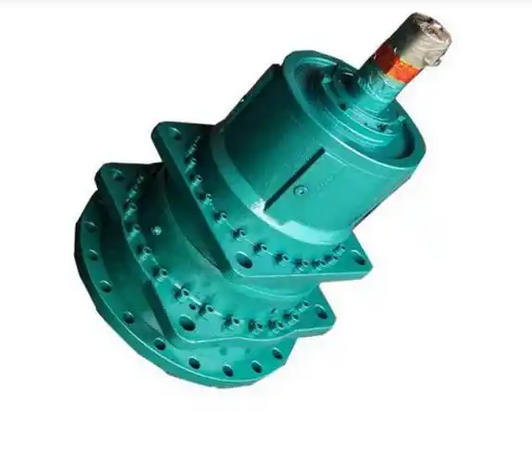
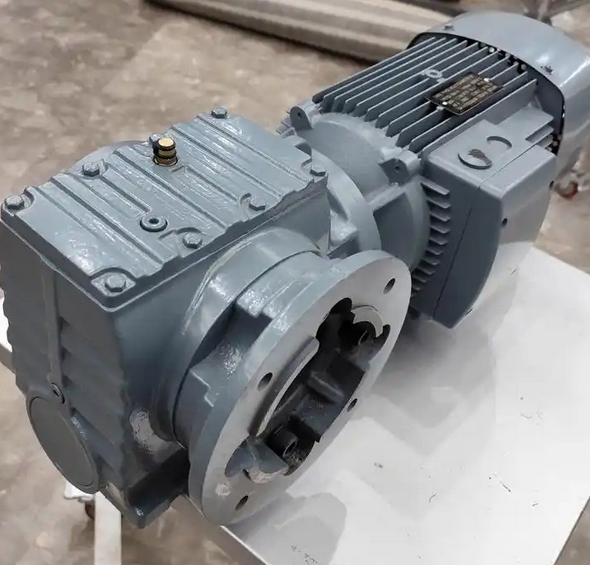
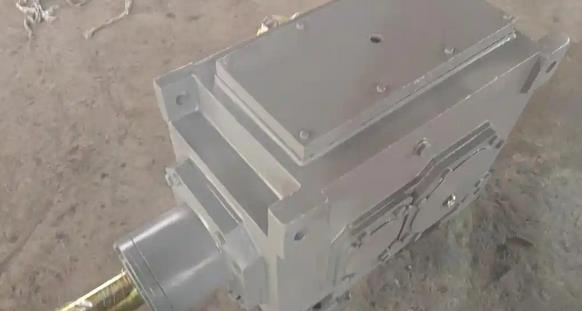
How to judge whether the thermal expansion gap of FAF87-32r/pm-7.5KW reducer is appropriate
The core of determining whether the thermal expansion clearance of FAF87 reducer is appropriate is to measure the actual clearance values of key mating pairs in cold and hot states, and compare them with design specifications or empirical values. The following are the specific operational steps:1、 Core measurement methods
Static measurement: After cooling down, use a feeler gauge or micrometer to measure the initial clearance of key parts such as gear backlash and bearing clearance.
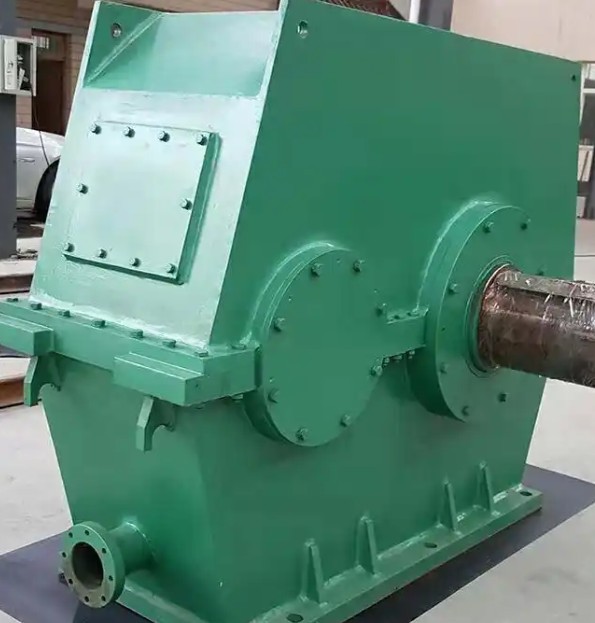
Dynamic monitoring: Run the equipment to thermal equilibrium (stable oil temperature), use an infrared thermometer to monitor key point temperatures, and use a laser centering instrument or vibration sensor to monitor axial displacement.
Thermal expansion calculation: Based on the material's coefficient of linear expansion (such as about 12 × 10 ⁻⁶/℃ for steel) and temperature difference, calculate the theoretical gap change and compare it with the measured value.
2、 Key inspection areas
Gear mesh clearance: measured by lead wire method or feeler gauge, the clearance in the hot state should be slightly smaller than that in the cold state (usually reduced by 0.01-0.05mm).
Bearing clearance: Measure the axial/radial clearance between the inner ring and shaft, and the outer ring and seat hole of the bearing. The hot clearance should be maintained within the manufacturer's recommended range (such as C3 group).
Axis alignment: Use a laser alignment instrument to detect axial/radial displacement in the hot state, ensuring that the deviation is ≤ 0.1mm/m.
Sealing gap: Check the end face gap of mechanical seals or labyrinth seals to avoid leakage caused by overheating.
3、 Judgment criteria
Qualification criteria: The change in thermal clearance is within ± 10% of the theoretical calculation value, and the clearance of key parts (such as gears and bearings) is still within the allowable range.
Risk warning: If the thermal gap approaches zero or exceeds the upper limit, adjust the preload or replace the component.
4、 Operational suggestions
Measurement timing: After the equipment has been running continuously for more than 2 hours and the temperature has stabilized, proceed.
Tool preparation: feeler gauge, micrometer, infrared thermometer, laser alignment instrument, etc.
Record comparison: Record cold/hot state data and compare it with equipment manuals or historical data.

