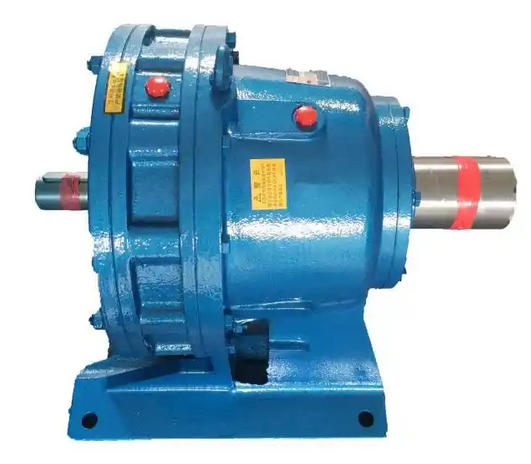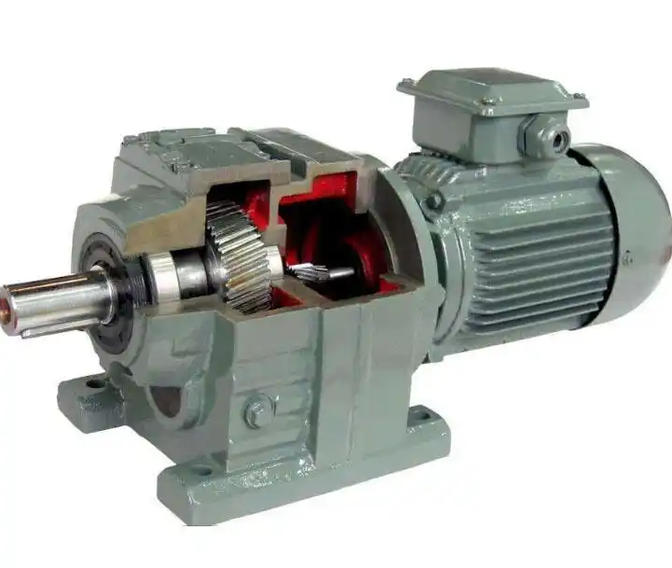

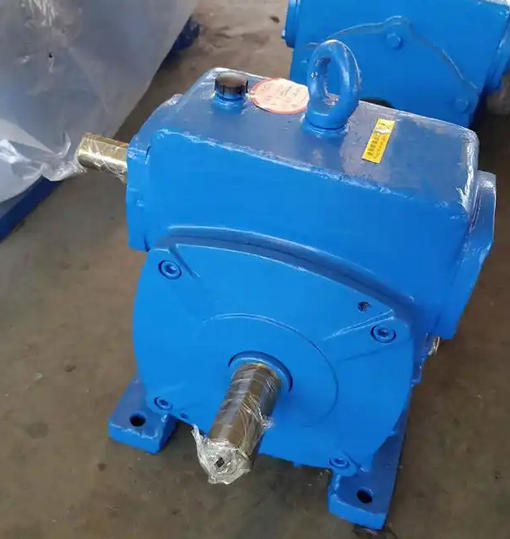
How to replace the arm bearing of WB series micro cycloidal reducer
1、 Safety and material preparation before disassembly and assemblyCut off the power supply of the reducer and supporting motor, hang a warning sign prohibiting closing, remove the motor wiring and make proper markings.
Completely remove external loads such as couplings and sprockets from the output shaft end to avoid deformation of the shaft system during disassembly.
Prepare specialized tools: Allen wrench, B030 ultra small bearing puller suitable for micro bearings, copper rod, rubber hammer, 80 ℃ constant temperature heating bath, parts storage box, marking pen.
Preparation materials: brand new arm bearings of the same model, lithium grease for cycloidal reducers, industrial cleaning agents, brand new seals, and paper pads.
2、 Step by step disassembly process of gearbox
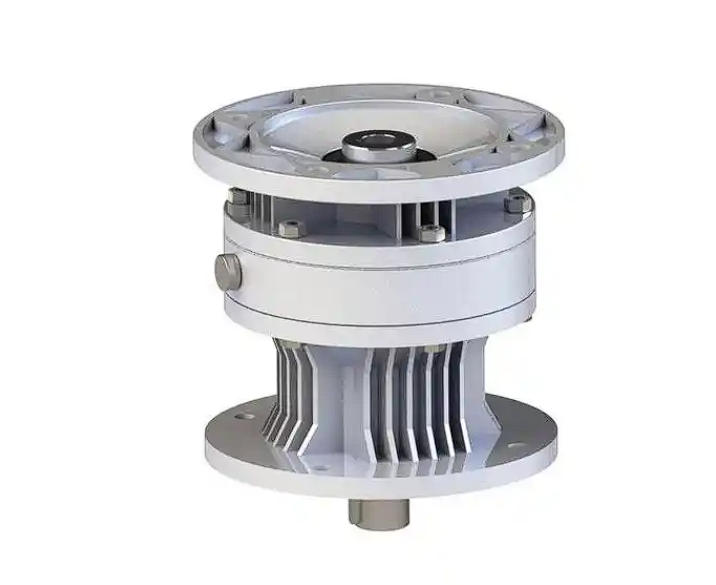
Unscrew the oil drain plug at the bottom of the machine seat, completely drain the internal lubricating grease, and clean the residual oil stains on the joint surface.
Loosen all connecting bolts between the machine base and the needle housing, and use a rubber hammer to evenly tap around the needle housing to ensure smooth separation of the two parts.
Take out the output column pin sleeve and the first cycloid wheel in sequence, mark the original position of the cycloid wheel end face with a marker pen to avoid reverse installation.
Remove the isolation ring, along with the eccentric sleeve and rotating arm bearing assembly, and then remove the second cycloidal wheel and mark the installation orientation.
All removed small bolts, snap rings, and washers should be classified and placed in a storage box to prevent loss and confusion.
3、 Non destructive disassembly of old arm bearings
Using a dedicated semi-circular open washer, fasten it on the outer side of the rotating arm bearing bead frame, clamp the assembly at the clamp of the vise, and evenly tap the eccentric sleeve end face with a copper rod to smoothly push out the old bearing. It is forbidden to directly tap the bearing rolling elements.
If the bearing is locked by interference fit with the eccentric sleeve, the inner ring of the bearing can be locally heated to 80 ℃ and slowly pulled out with a puller. The heating temperature must not exceed 120 ℃.
After disassembly, check the installation neck of the eccentric sleeve bearing. If there are slight scratches, polish them with fine sandpaper to ensure that the mating surface is free of burrs.
4、 New arm bearing specification assembly
Thoroughly clean the new bearing with a cleaning agent, dry it, and fill it with 1/3 of the dedicated lithium grease in the cavity. Apply lubricating grease evenly to the gaps between the rolling elements.
Using the hot installation method: Place the entire bearing in an 80 ℃ constant temperature oil bath and heat it evenly for 10-15 minutes. Quickly align the eccentric sleeve journal and push it into place.
During the cooling process, gently tap the inner ring end face of the bearing with a copper rod to ensure that the bearing is fully attached to the shaft shoulder and there is no axial movement.
It is strictly prohibited to directly strike the outer ring or rolling elements of the bearing with a hammer to avoid dents and premature failure of the raceway.
5、 Complete machine reinstallation and debugging acceptance
Reinstall the components in the reverse order of disassembly, ensuring that the marking heads of the two cycloid gears are 180 ° to each other and aligned with the eccentric orientation of the eccentric sleeve.
Clean all joint surfaces, replace with new seals and paper pads, apply a small amount of sealant evenly, and tighten the connecting bolts in diagonal order.
Manually rotate the input shaft to confirm that the transmission is smooth throughout the entire process without any jamming or abnormal noise, and that the rotational resistance is uniform.
Add sufficient lubricating grease according to regulations, conduct a no-load test run for no less than 4 hours, monitor the temperature rise of the bearing parts not exceeding 45 ℃, and ensure no oil leakage.
Gradually load to the rated load, retest the vibration value ≤ 2.8mm/s, confirm that the output speed is stable without any intermittent or lagging, and the replacement is qualified.