

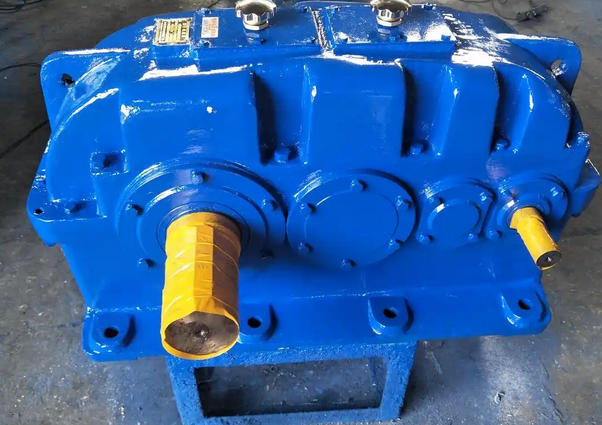
How to solve the oil leakage at the joint surface of ZSY series gear reducer
Regarding the problem of oil leakage at the joint surface of ZSY series gear reducers, there are usually two solutions: "online quick plugging without stopping the machine" and "complete repair after stopping the machine". You can choose a suitable plan based on the actual production situation on site (whether it is convenient for long-term shutdown):1、 Option 1: Quick online leak plugging without stopping the machine (recommended for emergency situations or when disassembly is not possible)
If it is inconvenient to disassemble the gearbox on site or if quick leak prevention is required, polymer composite materials can be used for external treatment. This method is time-saving and labor-saving, and the material's compressive, oil resistant, and stretchable properties effectively overcome the impact of equipment vibration.
The operation is as follows:
Surface treatment: Use a polishing machine to polish along the leakage area of the joint surface, exposing the original metal color (extending about 10mm up and down), and make a 1-2mm deep "V" groove at the joint to increase roughness and enhance adhesion.
Cleaning the surface: Thoroughly clean the polished surface with acetone or anhydrous ethanol to ensure no oil stains, dryness, and firmness.
Apply rapid curing material: Mix rapid curing polymer materials (such as Fushilan 25551, etc.), apply a thin layer on the area to be treated, repeatedly scrape and press to ensure that the material is filled tightly and completely covers the leakage point, playing a role in rapid sealing.
Cover reinforcement material: On the premise of no leakage of the rapidly curing material, apply a layer of material with good ductility and seismic resistance (such as Fushilan 3223HT, etc.) with a thickness of not less than 2mm, completely cover the first layer of material, and ensure good adhesion with the metal surface.
Curing: Fully cure according to the temperature and time requirements specified in the material manual to resume operation.
2、 Option 2: Shutdown for thorough repair (traditional standard process)
If there are conditions for shutdown maintenance, it is recommended to conduct a thorough internal cleaning and resealing to solve the problem from the root.
The specific operation steps are as follows:
Disassembly and cleaning: Disassemble the joint surface of the reducer, use a scraper and alcohol to thoroughly clean the old sealant and oil stains on the joint surface until there is no residue on the surface.
Check bolts: Check all shell fastening bolts for looseness or loose threads. If there is damage, it needs to be replaced with high-strength fasteners (such as 8.8 grade or higher).
Repainting: Apply high-quality anaerobic sealant (such as Loctite 510) evenly on the joint surface, controlling the coating thickness to be around 1-2mm, ensuring that the adhesive layer is continuous and complete, without bubbles or fractures.
Standardized tightening: According to the manufacturer's specified torque (usually 25-35 N · m), use a torque wrench to gradually tighten the bolts in three cross order steps to avoid further leakage due to uneven stress.
Static test: Allow the sealant to fully cure (usually recommended to let it sit for at least 24 hours) before conducting a test run.
Related News

