

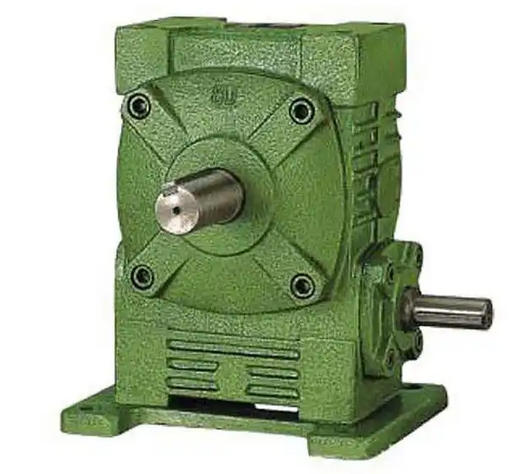
How to repair abnormal meshing of worm gear and worm in WPWA80-15-A reducer
To repair the abnormal meshing of the worm gear in the WPWA80-15-A reducer, it is necessary to first identify the cause of the abnormality through testing (such as assembly deviation, tooth surface wear, lubrication failure, etc.), and then take targeted repair measures. The core is to restore the meshing accuracy, contact state, and transmission stability. The specific methods are as follows:1、 Repair of assembly deviations (non wear related anomalies)
1. Adjustment of center distance and axis perpendicularity
Problem manifestation: The meshing contact area is biased towards the tooth top/root (center distance deviation) or one end of the tooth width (verticality deviation), without obvious tooth surface damage.
Repair steps:
Loosen the fixing bolts of the worm bearing seat and worm gear housing, measure the actual center distance (design value 80mm) with a feeler gauge or dial gauge, and adjust by adding or removing the bearing seat gasket (accuracy 0.01mm) to ensure that the deviation is ≤ 0.03mm;
Use a square ruler and a dial gauge to check the perpendicularity of the worm gear axis and the worm wheel axis (with a tolerance of ≤ 0.02mm/m). If it exceeds the tolerance, adjust the axial positioning gasket of the worm wheel shaft or grind the joint surface of the box body (ensuring a flatness of ≤ 0.01mm);
After adjustment, manually rotate the worm gear and feel it evenly without any jamming. Re tighten the bolts (with the specified torque, usually 8-12 N · m).
2. Adjustment of meshing clearance
Problem manifestation: Excessive gap (>0.3mm) leads to impact noise, or insufficient gap (<0.1mm) leads to overheating and jamming.
Repair steps:
Excessive clearance: If the worm/worm gear shaft moves due to bearing wear, replace the bearing (high-precision deep groove ball bearings, such as 6205-2RS, are recommended) and adjust the axial clearance to 0.05-0.1mm through the bearing end cover gasket;
Small gap: After disassembly, use fine sandpaper (800 grit) to lightly grind the worm gear tooth surface (along the tooth direction), with a grinding amount of ≤ 0.01mm each time. Repeat the measurement until the gap meets the standard to avoid excessive grinding and damage to the tooth profile.
2、 Repair of minor damage to the tooth surface (wear, scratches, etc.)
1. Polishing and trimming of tooth surface
Problem manifestation: There are slight scratches, burrs, or poor local contact (contact area<50%) on the tooth surface, without pitting or peeling.
Repair steps:
Clean the tooth surface with kerosene to remove oil stains and debris, and clean the impurities between the teeth with a hard bristled brush;
Dip 1000-1500 grit sandpaper into lubricating oil and gently polish along the tooth direction (to avoid damaging the tooth shape by horizontal polishing), with a focus on repairing areas with poor contact;
After polishing, apply red lead oil and manually engage and rotate 3-5 turns to check if the contact area evenly covers the middle of the tooth width (≥ 2/3 tooth width, ≥ 1/2 tooth height). If it does not meet the standard, repeat the polishing adjustment.


