
5 key details for non-destructive disassembly and installation of the main reducer of the roller press machine
1. Strictly conduct dimensional rechecks and surface pretreatment for coordinationBefore and after disassembly, it is necessary to strictly check the fit size between the output shaft hole of the reducer and the roller shaft head of the roller press. If the gap is too small and forcibly installed, or if the gap is too large (>0.8mm) and the locking plate cannot provide sufficient pressure, it will cause damage to the equipment. Before installation, it is necessary to conduct a comprehensive inspection of the hollow sleeve and roller shaft. Use an angle grinder or file to remove only local high points, and avoid overall polishing; At the same time, use an oilstone to polish the high points on both sides of the scratch, and thoroughly clean the connection area with kerosene or acetone to ensure that there is no oil, dust, or debris.
2. Standardize the disassembly and stress protection of the locking plate
When disassembling the locking plate, use a diagonal iron to evenly and symmetrically drive it in the circumferential direction, and avoid hitting too many points. If a hydraulic jack is needed to push out the reducer, due to the fact that the reducer end cover is usually a casting and thin, it cannot withstand excessive concentrated force. A pad with a thickness higher than the bolt head must be evenly placed between the jack and the reducer end cover bolt to distribute the force.
3. Precise control of concentricity and lifting position
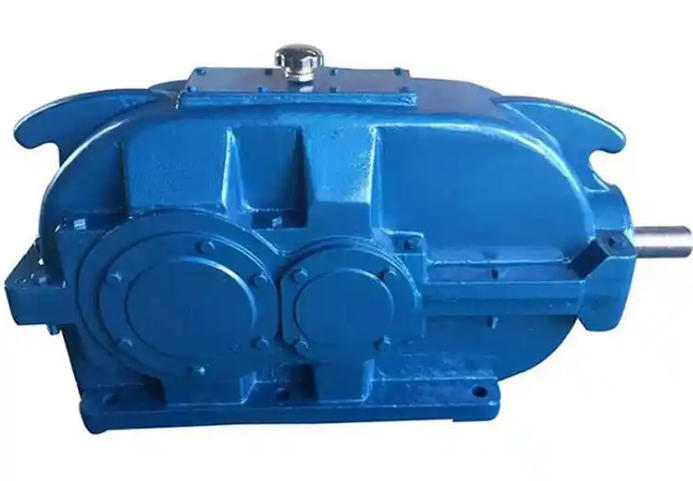
During the entire process of ejecting or inserting the gearbox, the lifting position must be adjusted at any time (such as with a chain hoist) to ensure that the hollow sleeve of the gearbox is always concentric with the roller shaft. It is recommended to use a feeler gauge to check the gap between the hollow shaft and the roller shaft at any time, to ensure basic balance up, down, left, and right, and to prevent the shaft surface from being pulled due to uneven force.
4. Scientific application of heating assisted disassembly technology
When the jack cannot push out the reducer at room temperature, the rapid heating method can be used. Use a welding gun to symmetrically and quickly bake the outer surface of the inner ring of the shrink plate. When heating, it is necessary to ensure that the inner ring is tightly clamped to conduct heat, and it is strictly prohibited to bake it into the threaded hole. The entire process needs to be monitored using an infrared thermometer, and the surface temperature should be strictly controlled within 150 ℃ (in some cases, it is recommended not to exceed 100 ℃ -140 ℃). If the roller still does not exit after heating and the temperature of the roller shaft rises, the heating must be stopped and the operation must be resumed after the shaft temperature drops to room temperature.
5. Follow the tightening specifications for locking plate bolts
During the installation and reassembly stage, the tightening of the locking plate bolts is the core link to prevent relative sliding of the mating parts and protect the shaft surface. It is necessary to use a winch and torque wrench to gradually, repeatedly, and repeatedly tighten each bolt according to the required torque in the equipment manual, ensuring that each bolt reaches the specified torque. During the fastening process, it is necessary to pay attention to the coaxiality of the reducer at all times. After installation, rotate the reducer to check if the runout meets the standard.
Related News