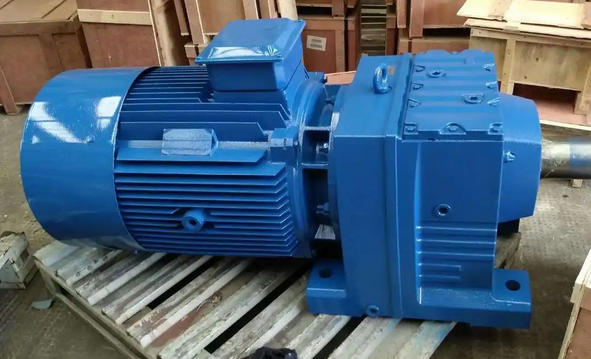
How to improve the gear accuracy of hard tooth surface gear reducers and soft tooth surface gear reducers
Improving gear accuracy has its own emphasis on both hard and soft tooth surfaces, as follows:1、 Hard tooth surface gear reducer
Materials and Heat Treatment
Priority should be given to using 20CrMnTi carburizing steel or 40CrNiMoA quenched and tempered steel, with non-metallic inclusion grade ≤ Grade 2 of GB/T 10561.
The carburizing quenching adopts a stepped heating method (heating rate ≤ 50 ℃/h), and the quenching medium adopts isothermal oil quenching (oil temperature 80-100 ℃), with a deformation of ≤ 0.03mm.
After quenching, low-temperature aging (180 ℃× 2h) and cold straightening (pressure ≤ 20% of the material yield strength) are carried out, and the runout after straightening is controlled within 0.02mm.
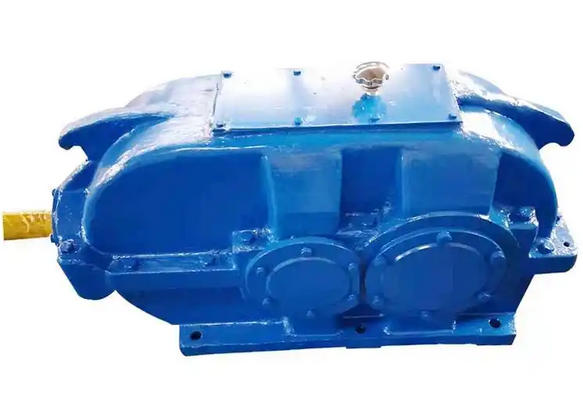
Processing technology
Rough machining: Leave a margin of 0.5-1mm to provide a foundation for subsequent machining.
Precision machining: Using strong honing technology, the tooth profile correction can be greater than 0.05mm, and the surface roughness can reach Ra0.2 μ m or less.
Grinding: Using electroplated or sintered grinding tools with CBN or diamond superhard abrasives, the gear accuracy can reach IT6~IT5 levels.
Testing and Calibration
Regularly check the cumulative error of gear pitch (such as 5th level accuracy ≤ 8 μ m) and tooth profile error (such as 5th level accuracy ≤ 3 μ m).
Use a vibration spectrum analyzer to detect the gear meshing frequency and its harmonic amplitude, ensuring smooth transmission.
2、 Soft tooth surface gear reducer
Materials and Heat Treatment
Priority should be given to using 45 steel or 40Cr quenched and tempered steel, followed by spheroidization annealing after forging to eliminate network carbides and achieve uniform hardness (HB180~200).
After quenching, low-temperature aging (180 ℃× 2h) and cold straightening (pressure ≤ 20% of the material yield strength) are used, and the runout after straightening is controlled within 0.02mm.
Processing technology
Rough machining: Leave a margin of 0.5-1mm to provide a foundation for subsequent machining.
Precision machining: Using shaving technology, the gear accuracy can reach IT7~IT6 levels.
Grinding: Using electroplated or sintered grinding tools with CBN or diamond superhard abrasives, the gear accuracy can reach IT6~IT5 levels.
Testing and Calibration
Regularly check the cumulative error of gear pitch (such as 5th level accuracy ≤ 8 μ m) and tooth profile error (such as 5th level accuracy ≤ 3 μ m).
Use a vibration spectrum analyzer to detect the gear meshing frequency and its harmonic amplitude, ensuring smooth transmission.

