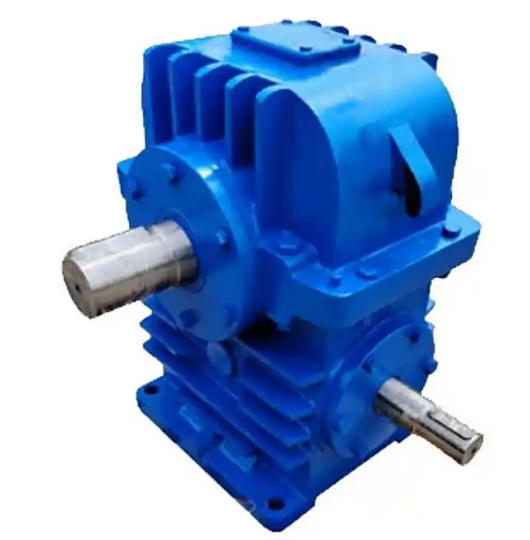
How to correctly install and replace the worm gear oil of CWU180-40-11 reducer
The correct installation and replacement of worm gear oil for CWU180-40-11 reducer should follow the three principles of "clean preparation, standardized operation, and precise control", combined with its characteristics of "center distance of 180mm, transmission ratio of 40, and 11 level accuracy" (for medium load and conventional industrial applications). The specific steps are as follows:1、 Operation process for installing (first filling) worm gear oil
1. Preliminary preparation: Cleaning and selection
Clean the interior of the fuel tank:
When the new reducer leaves the factory, there may be impurities such as iron filings and casting sand particles. It is necessary to first open the top cover of the oil tank and use a lint free cloth dipped in L-CKE 100 low viscosity cleaning oil to wipe the inner wall of the oil tank; If there are many impurities, add 1/3 capacity of cleaning oil, manually rotate the worm (or jog the motor) for 5-10 minutes, and then drain the oil through the bottom drain valve. Repeat 1-2 times until there are no obvious impurities in the discharged oil.
Confirm oil type:
Select L-CKE/P series specialized oil according to the working conditions (L-CKE 460 for medium load at room temperature, L-CKE/P 680 for heavy load at high temperature, L-CKE 320 for light load at low temperature). It is strictly prohibited to use ordinary gear oil or mix different brands of oil.
2. Filling operation: Control the oil level and exhaust
Addition method:
It is recommended to use a funnel with a filter screen (with a filter accuracy of ≥ 100 mesh) to add oil from the top of the fuel tank to avoid impurities during the filling process.
Oil level control:
Add oil to 2/3 of the oil level between the upper and lower limits (or 5-10mm below the worm axis)——
Excessive oil level: increased resistance to oil agitation and easy rise in oil temperature (exceeding 85 ℃ will accelerate oil aging);
Low oil level: Insufficient oil film in the meshing area leads to increased wear on the tooth surface.

Exhaust treatment:
After filling, let it stand for 10 minutes, loosen the ventilation hole bolt on the top of the fuel tank (or open the exhaust valve), and discharge the air mixed in the oil to avoid air resistance during startup.
3. Trial operation verification
Run without load for 30 minutes, observe:
Oil temperature: It should be stable at 30-60 ℃ without any abnormal increase (heating amplitude ≤ 20 ℃/hour);
Leakage: Check the interface between the input/output shaft end cover and the box body for any oil leakage;
Noise: Running smoothly without sharp abnormal noise (indicating that the oil film has formed normally).


