

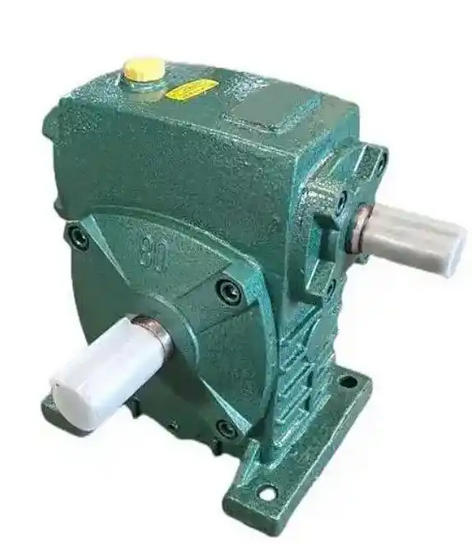
How to adjust the meshing clearance of WPS250-40-B worm gear reducer
Priority should be given to using the method of "fine adjustment of worm axial gasket", following the closed-loop execution of "clarifying the target side clearance → measuring the initial value → fine adjusting in steps of 0.05~0.1mm → double checking with dial gauge/plug gauge and contact spot → confirming during trial operation". WPS250-40-B can be stably adjusted to the target value within the range of 0.1~0.3mm side clearance.Preparation and Goals
Tools: feeler gauge, dial gauge/lever gauge, magnetic gauge holder, copper rod, torque wrench, red lead powder, clean cloth; Suggest preparing 0.05/0.1/0.20mm stainless steel/copper gaskets.
Target side clearance: Take 0.1~0.3mm according to the manual or operating conditions; take the smaller value for high precision; Take the larger value of the impact load. If there is no manual, set the target range as 0.15~0.25mm first.
Contact spot: tooth width direction ≥ 70%, tooth height direction ≥ 50%, located in the middle of the tooth width and slightly biased towards the worm gear rotation side.
Installation and lubrication: The anchor/end cap bolts are not loose, and sufficient clean lubricating oil should be added according to the oil standard; First, idle without any jamming before measuring the clearance.
Quick operation steps
1. Determine the direction of adjustment
Need to reduce clearance: Add shims at the non output end bearing cover of the worm to bring the worm closer to the worm wheel.
Need to increase clearance: Reduce the gasket on this side to keep the worm away from the worm gear.
2. Measure the initial side clearance
Dial gauge method: The gauge holder is attached to the box, the measuring head touches the worm gear tooth surface, the worm gear is fixed, and the worm gear is gently rotated forward and backward. The difference in pointer swing is read as the backlash; Suggest repeating 3 points and taking the average.
Feeler gauge method: Insert a feeler gauge directly between teeth, measure multiple tooth positions, and use the minimum insertable thickness as the standard.
3. Minor adjustment of gasket (recommended 0.05~0.10mm each time)
Loosen the bolts on the non output end bearing cover and remove the cover; If necessary, loosen the opposite end cap to relieve stress.
Adjust the gasket according to the calculated thickness, reinstall the end cap, and gradually tighten it diagonally to the specified torque.
After each fine adjustment, retest the side clearance and contact spot to avoid over adjustment.
4. Contact spot inspection (Red Dan method)
Thin coat the worm gear tooth surface with red lead and manually rotate it 2-3 times; Observe whether the coloring area of the worm gear tooth surface meets the requirements of "tooth width ≥ 70%, tooth height ≥ 50%, and middle out of rotation". If the contact is biased towards the tooth tip/root or edge, trace back or make minor adjustments on the opposite side before retesting.
5. Trial operation and acceptance
No load for 5-10 minutes → 25% load for 15-30 minutes → 50% load for 15-30 minutes, monitor temperature rise and noise: bearing temperature ≤ 70 ℃, whole machine temperature rise ≤ 60K or oil temperature ≤ 85 ℃, no abnormal noise/vibration/leakage is qualified; If it is not qualified, stop the machine for re adjustment.
