
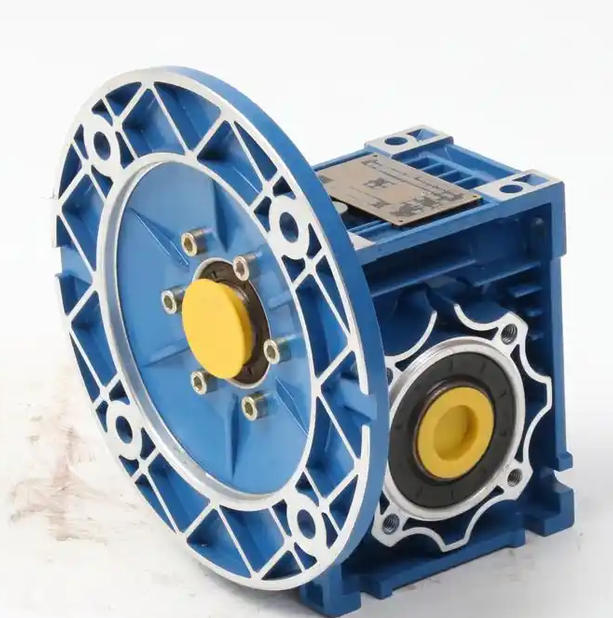
How to deal with oil leakage at the oil level plug/drain plug of NMRV series reducer
Troubleshooting and Root Cause AnalysisBefore starting the repair, it is recommended to stop the machine and cut off the power supply. Wait for the gearbox to cool down to a safe temperature, then clean the oil around the screw plug. Focus on investigating the following three core causes:
Aging or damage of sealing gasket: The copper gasket, aluminum gasket or rubber sealing ring that comes with the screw plug is prone to hardening, cracking or deformation due to long-term exposure to high temperature and lubricating oil erosion, leading to seal failure.
Loose or improper tightening torque of the screw plug: The vibration generated by long-term operation of the equipment may cause the screw plug to loosen; Or if a torque wrench was not used during early maintenance, resulting in insufficient or excessive tightening torque (causing wire slippage).
Thread or joint surface damage: The thread of the plug is worn, the thread slips, or there are burrs, scratches, and casting sand holes on the joint surface of the box screw hole, resulting in an inability to fit tightly.
Internal pressure inside the box is too high: The operation of the reducer generates heat, causing the temperature inside the box to rise. If the ventilation cap (respirator) is blocked by oil sludge, the increase in internal pressure will force the lubricating oil out of the static sealing gap such as the screw plug.
2. Targeted maintenance processing steps
Based on the specific reasons identified, the following hierarchical measures can be taken:
Step 1: Conventional fastening and gasket replacement (solving the vast majority of leaks)
Remove the leaking plug, thoroughly clean the old sealant, oil stains, and metal debris on the plug and the box screw hole.
Replace the original factory specification sealing gasket with a brand new one (it is strictly prohibited to reuse the old gasket).
During installation, apply a small amount of oil resistant sealant (such as Loctite 515 silicone sealant) evenly on both sides or threads of the gasket, and then use a torque wrench to tighten it evenly diagonally or to a standard torque. Avoid blindly applying too much force to prevent slipping.
Step 2: Thread and Joint Surface Repair (for Hardware Damage)
Slight thread wear: An appropriate amount of raw material tape or polymer composite material can be wrapped around the thread for emergency filling and sealing.
Serious thread slippage or screw hole damage: It is necessary to use a special tap to re tap and replace the plug with a larger one; If the screw hole of the box is severely damaged, it can be repaired with a sleeve or argon arc welding, and then re drilled and tapped.
Uneven joint surface: If there are scratches or deformations on the contact surface of the screw plug, it needs to be polished flat with fine sandpaper to ensure a tight fit of the metal surface.
Step 3: Clear the ventilation device (solve pressure oil leakage)
Check the ventilation cap/respirator on the top of the gearbox, remove and remove any oil sludge and impurities inside, and blow through with compressed air if necessary. Ensure the balance of air pressure inside and outside the box, and eliminate leakage caused by excessive internal pressure from the root.
3. Testing and prevention after maintenance
Static and dynamic testing: After the repair is completed, inject an appropriate amount of lubricating oil and let it stand for 24 hours to observe that there is no leakage at the plug; Then run at low speed without load for 30 minutes to 1 hour, confirm that there is no oil leakage, no abnormal noise, and the temperature is normal, and then put it into rated load operation.
Daily prevention: It is recommended to include the inspection of the plug sealing gasket in the regular maintenance plan every 500-1000 hours; Simultaneously replacing the drain plug gasket and regularly cleaning the vent cap during each oil change can effectively prevent the recurrence of such faults.
Related News