
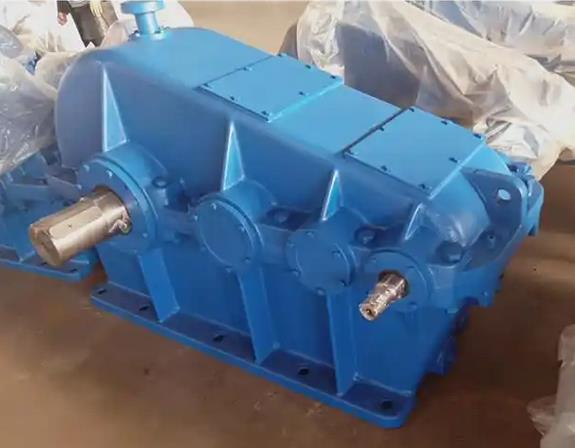
Troubleshooting Oil Leakage at Interface of ZSY Series Gear Reducer
Two practical repair approaches are available to tackle interface oil leakage for ZSY series gear reducers, covering urgent on‑site emergency handling and complete offline overhaul solutions to match different operating conditions.
Emergency Online Leak Sealing (For Non‑Stop Running Scenarios)
This approach fits field conditions where gearbox disassembly cannot be performed or immediate leak containment is needed. It adopts external repair with polymer composite substances, cutting down labor and downtime. The selected materials feature excellent compression resistance, oil resistance and tensile performance, which can adapt to continuous equipment vibration during operation.
Follow these field operation procedures. First carry out surface preparation: polish the leaking joint zone with a grinding tool until bare metal is visible, expand the polishing scope roughly 10 mm on both sides of the leak spot. Machine a V‑shaped groove 1‑2 mm deep along the mating seam to boost surface roughness and bonding performance. Next, wipe the polished section completely using acetone or absolute ethanol. All grease contaminants must be removed, leaving a dry, solid substrate for subsequent bonding work.
Prepare fast‑setting polymer compounds like Fushilan 25551 and stir the components properly. Spread a thin coat over the target repair zone, then scrape and press repeatedly. Make sure the compound fills gaps fully and covers leak points to achieve instant sealing. Once the fast‑cured base layer holds without seepage, apply ductile, shock‑resistant material such as Fushilan 3223HT. Keep coating thickness above 2 mm, fully overlay the first layer and secure solid bonding against metal surfaces. Wait for full curing following official material datasheet temperature‑time guidelines before putting the reducer back into service.
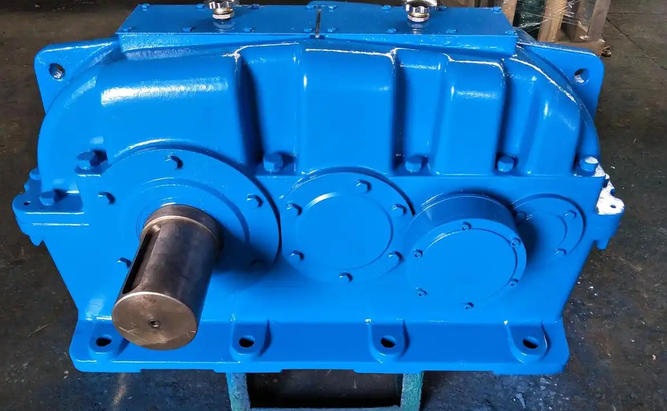
Complete Overhaul With Unit Shutdown (Standard Conventional Repair)
When production permits shutdown maintenance, full disassembly and resealing work delivers root‑cause resolution for interface oil leakage.
Take apart the reducer mating faces. Scrape off aged sealant residues and oil contaminants with scrapers and alcohol, until joint surfaces stay spotless. Inspect every housing fastening bolt. Swap out any loose or thread‑damaged fasteners for high‑strength alternatives of grade 8.8 or superior.
Coat premium anaerobic sealant e.g. Loctite 510 evenly across mating surfaces. Maintain coating thickness between 1‑2 mm. Keep the sealant film continuous, free of voids and breaks. Use a torque wrench to fasten bolts in three staggered cross‑sequence passes. Stick to factory torque values ranging from 25‑35 N·m. Uniform bolt tension prevents new leak risks caused by uneven surface stress. Leave the assembly stationary for no less than 24 hours to allow full sealant curing, then carry out trial operation checks.