

Optimization Strategies for Shaft Coaxiality Alignment Between the Motor and SCWS225-40-F Worm Gear Reducer
Achieving optimal coaxiality between the motor shaft and the input shaft of the SCWS225-40-F worm gear reducer requires precise alignment and rigorous adjustment. Please follow the specific steps outlined below.
1. Pre-Installation Preparation
Foundation Inspection
- Ensure the installation base is flat, rigid, and secure.
- Verify that the pre-tightening force of the anchor bolts is uniform to prevent axis deviation caused by foundation deformation.
- Use a precision spirit level to check the levelness of the reducer's installation surface. The allowable error must be ≤ 0.05 mm/m.
Shaft End Cleaning
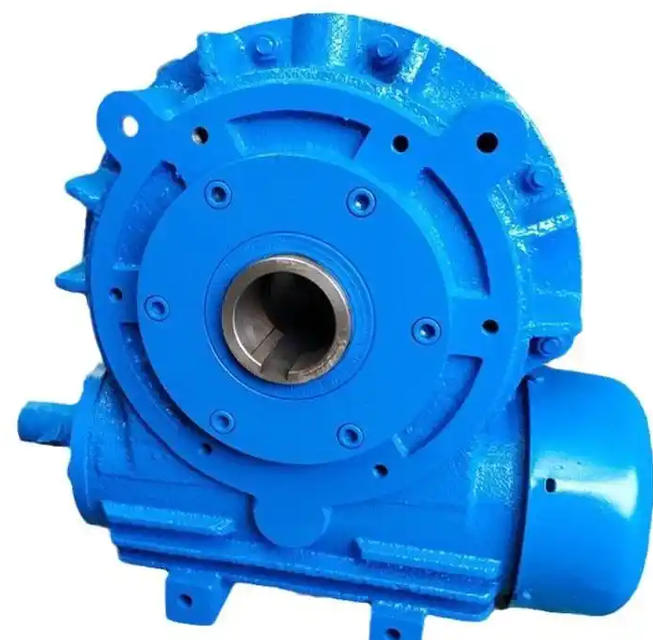
- Thoroughly clean oil stains, rust, and burrs from the end faces of the motor shaft, the gearbox input shaft, and the coupling. This prevents impurities from compromising centering accuracy.
2. Coupling Alignment Methods
Method A: Dial Indicator Method (Recommended)
-
Secure the dial indicator to either the motor shaft or the gearbox input shaft to measure the radial and axial runout of the coupling.
- Radial Runout: The difference between the maximum and minimum readings along the coupling's outer circumference must be ≤ 0.05 mm.
- Axial Runout: The axial offset (wobble) of the coupling end face must be ≤ 0.02 mm.
- Adjustment Strategy: When adjusting the motor or reducer position, prioritize adjusting the axial height using shims, then fine-tune any lateral offset.
Method B: Laser Alignment Instrument (High-Precision Applications)
- Utilize a laser alignment system for real-time monitoring of shaft deviation.
- Follow the software guidance for adjustments to achieve a high precision accuracy of ± 0.01 mm.
3. Adjustment Procedure
-
Preliminary Rough Adjustment
- Loosen the motor's anchor bolts. Manually shift the motor to ensure the coupling gap is uniform, achieving a preliminary alignment of the axes.
-
Precise Fine-Tuning
-
Adjust the alignment based on the dial indicator readings using the following techniques:
- For Radial Deviation: Move the motor base horizontally or adjust the shim thickness.
- For Axial/Angular Deviation: Add or remove shims at the front or rear feet of the motor or reducer to correct height differences.
- Verification: Re-measure after every adjustment until the runout values meet the specified standards.
-
Adjust the alignment based on the dial indicator readings using the following techniques:
-
Final Fastening
- Once alignment is confirmed, tighten the anchor bolts in stages following a diagonal (crisscross) pattern. This prevents unilateral stress or deformation of the frame.
4. Verification and Maintenance
No-Load Trial Run
- Monitor vibration and noise levels immediately after startup. If abnormal vibration occurs (> 4.5 mm/s), stop and recalibrate.
- Monitor bearing temperature rise, which should remain ≤ 40°C.
- After 1 hour of continuous operation, re-test the coaxiality to ensure stability.
Regular Inspection
- Inspect the tightness of coupling bolts and the alignment status every 3 months. Long-term operation may cause slight displacement due to foundation settlement.