

Repair Steps for Oil Leakage in NGW72-90 Planetary Gearbox
Step 1: Accurately locate the oil leakage pointClean all oil stains on the gearbox casing, run the equipment for 10-15 minutes before stopping, and trace the source of leakage along the direction of oil flow.
Focus on investigating four types of high-frequency leakage locations: output/input shaft oil seal, box joint surface, observation window sealing position, and around the breathable plug.
Regarding the unique hidden point of the NGW series: check the annular static seal position between the planetary carrier and the inner ring gear, which is the neglected root cause of 90% of repeated oil leakage.
3、 Step 2: Disassemble and repair in different locations
1. Oil leakage treatment of shaft extension oil seal
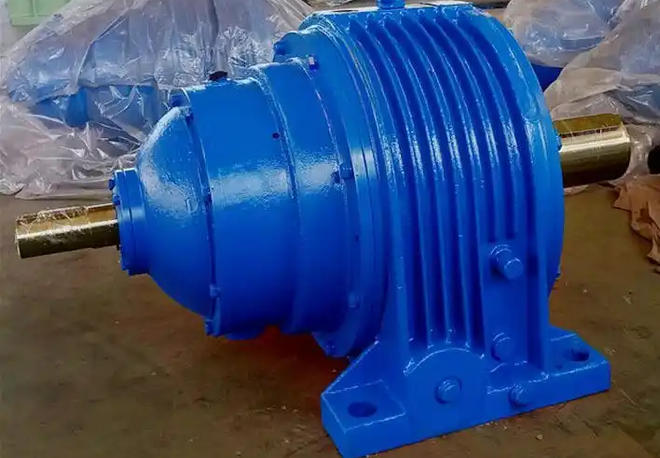
Remove the end cap and take out the old oil seal. Check if the oil seal lip has hardened or cracked, and if there are any wear grooves on the shaft neck surface.
The minor wear of the shaft neck should be polished with metallographic sandpaper. If the wear depth exceeds 0.2mm, electroplating repair or replacement of the shaft components is required.
Replace the dual lip fluororubber oil seal with the appropriate model, apply a small amount of silicone grease to the lip during installation, and press it evenly into place with a special pressure sleeve to avoid lip flanging and cutting.
2. Oil leakage treatment of the joint surface of the box body
Gradually loosen the bolts on the joint surface in diagonal order to avoid local deformation of the end cover.
Thoroughly clean the remaining old sealant and oil stains on the joint surface, rinse with aviation kerosene, and wipe dry.
Apply a layer of 0.5mm thick oil resistant silicone sealant evenly, apply a 0.3mm thick oil resistant rubber pad, and tighten the bolts diagonally according to the specified torque in the manual.
3. Internal static seal oil leakage treatment of planetary carrier
Completely disassemble the planetary transmission components, remove the planetary carrier, and take out the aging and ineffective built-in annular O-ring.
Clean the dirt and metal burrs in the sealing groove. If there are grooves on the mating surface, use metal spraying to repair or install support rings.
Replace the new fluorine rubber oil resistant O-ring, apply a small amount of lubricating grease evenly, and reinstall it to ensure that the flatness of the compressed end face is ≤ 0.04mm.
4. Ventilation system and treatment of other parts
Dismantle and clean the clogged vent plug, replace it with a dust-proof vent valve, thoroughly restore the balance of air pressure inside and outside the box, and avoid the continuous increase of internal pressure from squeezing the seal.
Check the oil injection hole cover and observation window sealing gasket, replace them directly if they are deformed or aged, and tighten the bolts after they are flat and fit.
4、 Step 3: Performance verification after assembly
1. Add lubricating oil according to the nameplate standard, strictly control the oil level at the centerline of the oil window, and prohibit excessive oil injection.
2. Conduct a 2-hour no-load test run, monitor the temperature rise of the bearing area to be ≤ 40 ℃, and ensure that there are no new leakage points in the casing.
3. Gradually load according to a gradient of 25%, 50%, 75%, and 100%, track the sealing position status throughout the process, confirm no leakage, and deliver for use.
5、 Key points of long-term prevention
1. Check the patency of the ventilation valve every month and calibrate the oil level every 3 months to avoid excessive oil filling.
2. Each major overhaul must fully disassemble and inspect the static seal inside the planetary carrier, and simple repairs that only replace the oil seal externally are prohibited.
3. Regularly calibrate the coaxiality of the motor and reducer with a laser centering device, with an error controlled within 0.05mm to avoid eccentric wear of the oil seal at the shaft end.
Related News